Chocolate Coffee Tiramisu Cake
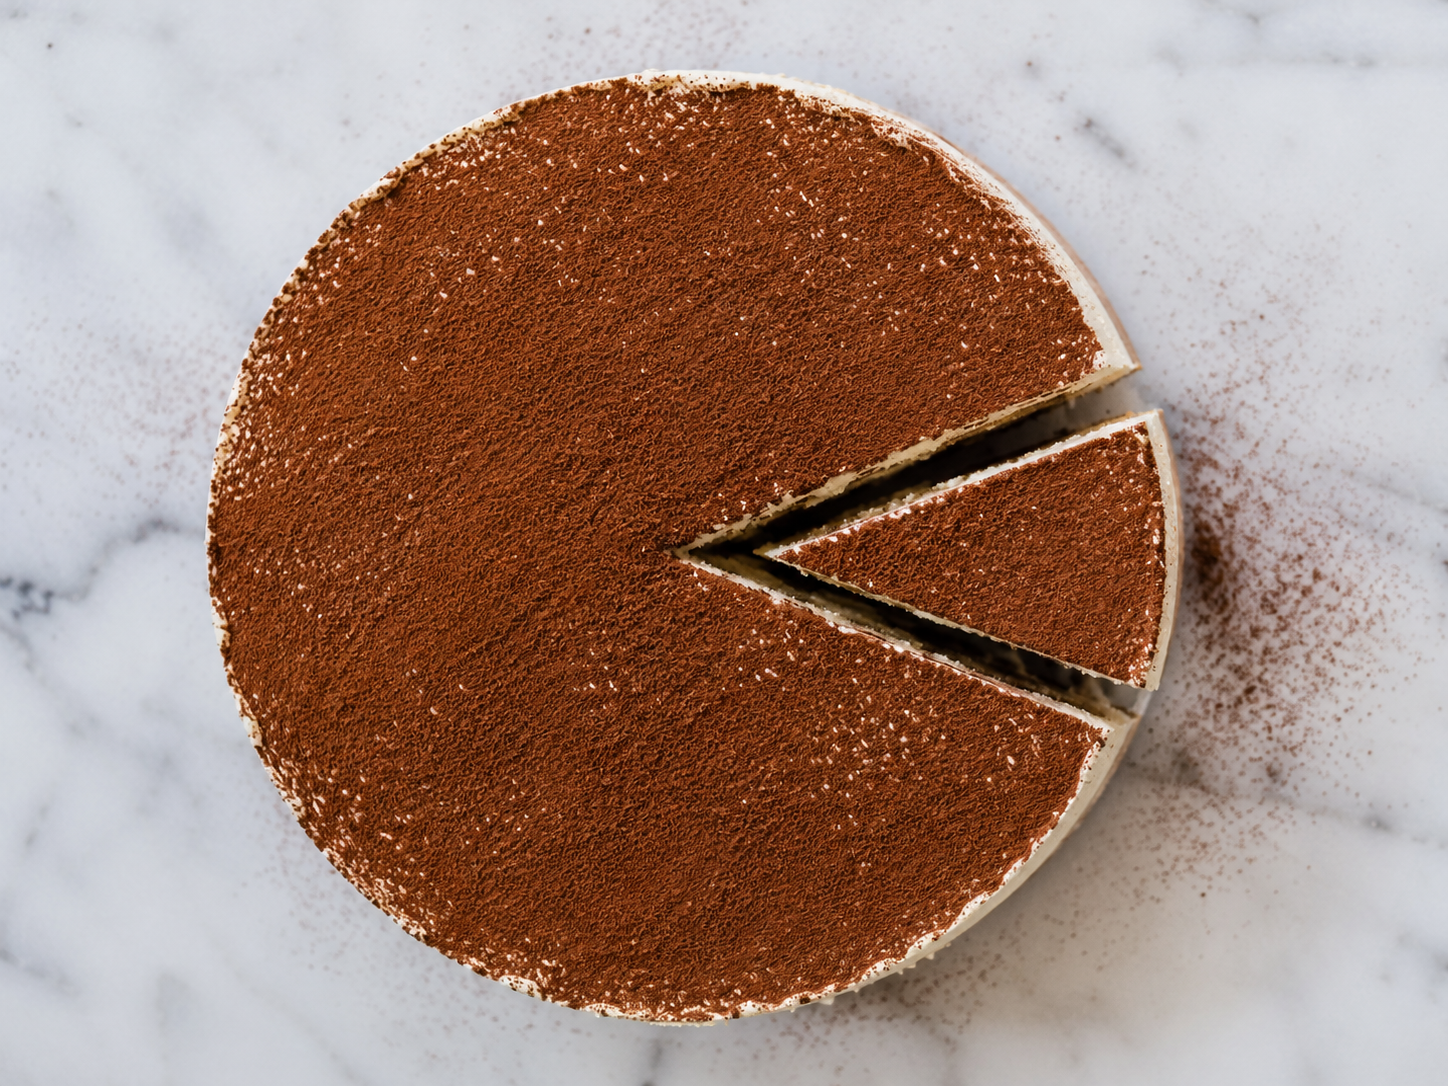
Some cakes are everyday cakes. The kind you bake on a random afternoon because you want something sweet with coffee.
And then there are cakes like this.
This tiramisu cake was made for my brother-in-law Nikhil’s birthday, and honestly, it felt like a proper birthday project. Not technically impossible, but definitely the kind of cake that asks for time, patience, and a slightly chaotic kitchen.
At its heart, this is a chocolate coffee cake. Soft, dark, and deeply flavoured with cocoa and coffee. But instead of stopping there, it gets turned into something much more dramatic: soaked with coffee, layered with coffee-dipped ladyfingers, covered in a mascarpone cream, finished with cocoa powder, and somewhere in the middle, a little dusting of nutmeg.
And I know nutmeg is not the most obvious tiramisu ingredient, but trust me on this. It adds this warm, almost old-school bakery note that works beautifully with the coffee, cocoa, and mascarpone. In my opinion, it might be one of the best ways to eat tiramisu.
This is not a quick cake. It took us almost two and a half days from start to finish because the cake needs to be baked, cooled completely, trimmed, soaked, assembled, and chilled. But that’s also what makes it feel special. It’s the kind of cake you make when there’s a birthday, a big dinner, or just a reason to go slightly overboard.
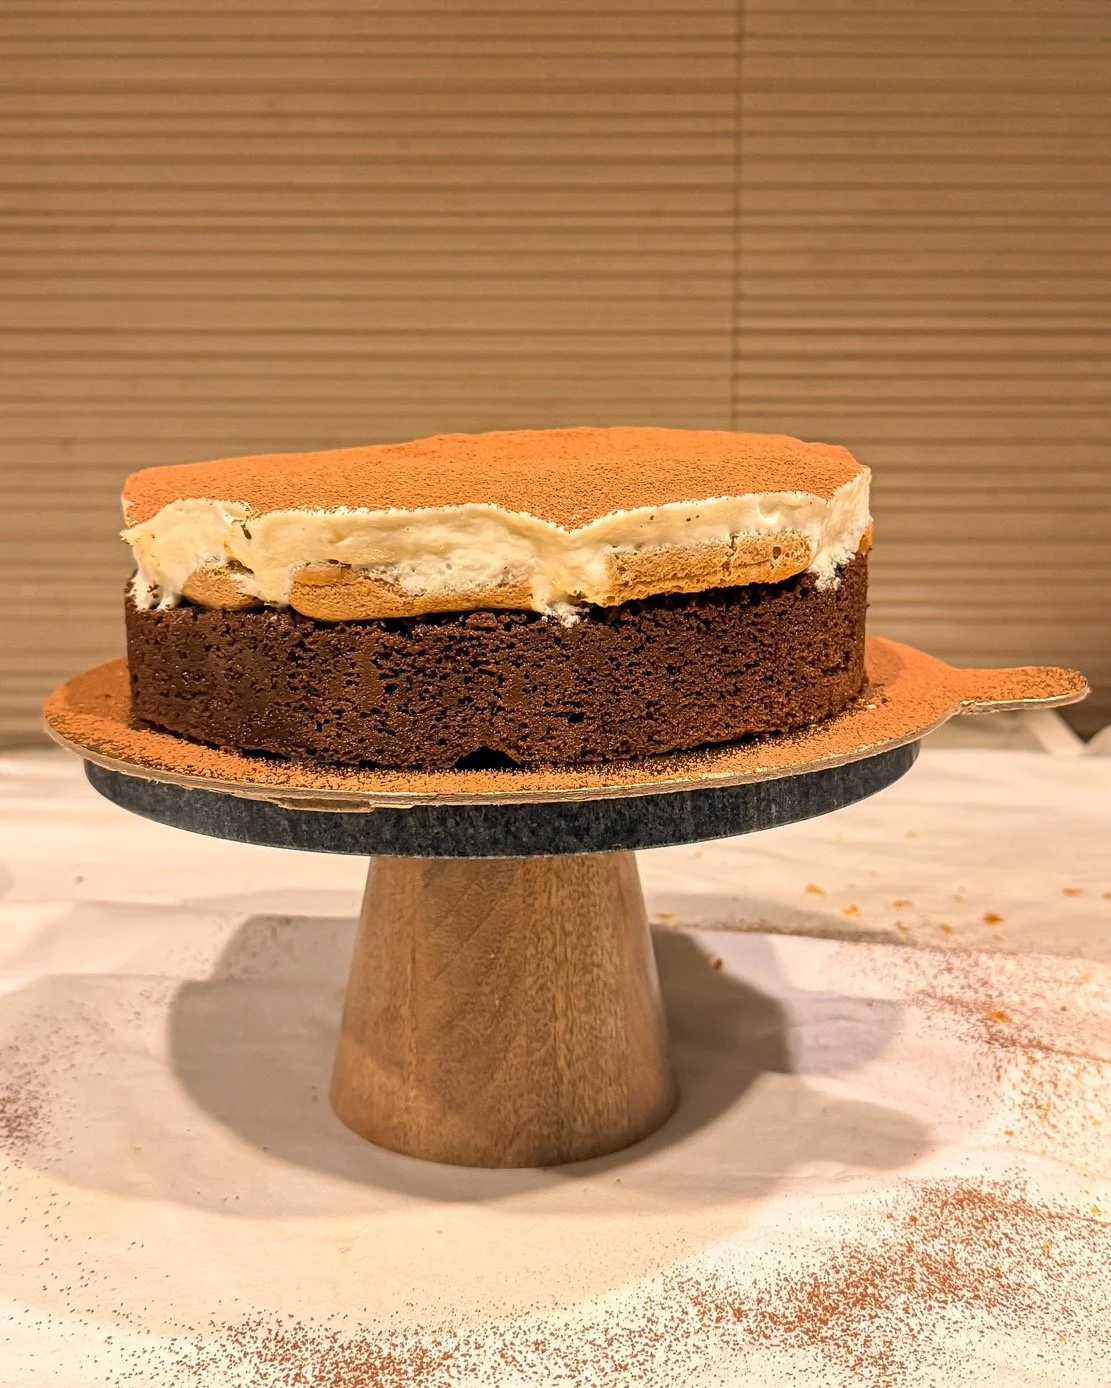
One thing I learned while making it: add a thin layer of mascarpone cream between the cake and the ladyfingers. I skipped that, and while the cake tasted incredible, the ladyfinger layer didn’t fully stick to the cake. So when we cut into it, it had a tendency to split into two halves. Not the end of the world, but definitely something I would fix the next time.
So the recipe below includes that little correction. Think of it as version two of the cake: same chaos, better structure.
Tiramisu Cake Recipe
Makes
One 8 or 9-inch cake, serving 8–10 people
Time
Best made over 2 days.
Day 1: Bake the cake and let it cool completely
Day 2: Make the mascarpone filling, assemble, and chill
Day 3: Dust with cocoa and serve, if you have the patience
Ingredients
For the chocolate coffee cake
¾ cup neutral oil, plus more for greasing the pan
3 medium eggs
For an eggless cake option: use 3 flax eggs, made by mixing 3 tbsp ground flaxseed with 9 tbsp water. Let it sit for 10–15 minutes until thickened before using.
1 cup milk
1 tsp vanilla extract
1⅓ cups all-purpose flour
1 cup granulated sugar
½ cup unsweetened cocoa powder, preferably Dutch processed
1 tbsp instant coffee powder
1¾ tsp baking powder
¼ tsp baking soda
1 tsp salt
60 ml strong brewed coffee, cooled slightly
For the mascarpone cream
250 g mascarpone cheese
250 ml whipping cream, chilled
2–3 tbsp icing sugar
⅓ cup granulated sugar
1 tsp vanilla extract or vanilla bean paste
For the coffee soak
½ cup strong brewed coffee
1–2 tbsp sugar
2–3 tbsp milk
For the ladyfinger layer
12–18 ladyfingers, depending on the size of your cake
½ cup strong brewed coffee, for dipping
A light dusting of nutmeg
For finishing
Cocoa powder, for dusting
Method
1. Make the chocolate coffee cake
Preheat the oven to 160°C. Grease and line an 8 or 9-inch cake tin with parchment paper.
In a large bowl, add the eggs, milk, oil, and vanilla extract. Whisk until everything is well combined.
Place a sieve over the bowl and sift in the flour, cocoa powder, instant coffee powder, baking powder, baking soda, salt, and sugar.
Whisk everything together until you have a smooth batter.
Once the batter is mixed, pour in the strong brewed coffee and whisk again until fully combined. The batter will loosen slightly, which is exactly what you want.
Pour the batter into the prepared tin and tap the tin on the counter a few times to remove large air bubbles.
Bake for 40–50 minutes, or until a skewer inserted into the centre comes out clean.
Let the cake cool completely. This is very important. Do not try to assemble the cake while it is warm, because the mascarpone filling will melt and the structure will fall apart.
Ideally, bake the cake the day before you want to assemble it.
2. Make the mascarpone filling
In a chilled bowl, whip the whipping cream with 2–3 tbsp icing sugar until it reaches stiff peaks.
In a separate bowl, whisk the mascarpone cheese with ⅓ cup granulated sugar and vanilla until smooth and creamy.
Gently fold the whipped cream into the mascarpone mixture. Be careful not to knock out too much air. The filling should be light, creamy, and thick enough to hold its shape.
Keep it chilled until you are ready to assemble.
3. Level the cake
Once the cake has cooled completely, slice off the domed top to create a flat, even surface.
This gives you a cleaner finish and makes it much easier to layer the ladyfingers and cream on top.
4. Make the coffee soak
In a bowl, mix strong brewed coffee with sugar and a splash of milk.
Spoon this coffee soak generously over the top of the cake. You want the cake to absorb the coffee and become moist, but not so wet that it collapses.
5. Add a thin mascarpone layer
Spread a thin layer of mascarpone filling over the soaked cake.
This is an important step. It acts almost like glue between the cake and the ladyfingers, helping the layers stick together when you slice into it later.
6. Add the ladyfingers
Dip the ladyfingers quickly into strong brewed coffee. Don’t soak them for too long or they will become too soft and difficult to handle.
Arrange the dipped ladyfingers in a single layer over the cake.
Once the ladyfingers are in place, dust them lightly with nutmeg. This adds a warm, spiced note that works beautifully with the coffee and cocoa.
7. Top with mascarpone cream
Spread the remaining mascarpone filling over the ladyfinger layer.
Smooth it out with a spatula. You can keep it clean and flat, or create soft swoops and swirls depending on the look you want.
Chill the cake for at least 4–6 hours, preferably overnight. This helps the layers settle and makes the cake much easier to slice.
8. Finish with cocoa powder
Just before serving, dust the top generously with cocoa powder.
Slice and serve chilled.
Notes
This is not a technically difficult cake, but it is a project. The effort comes from the number of steps: baking the cake, cooling it, making the cream, preparing the soak, dipping the ladyfingers, assembling everything, and letting it chill.
Do not rush the cooling or chilling time. This cake really benefits from patience.
The mascarpone layer between the cake and ladyfingers is essential if you want clean slices. Without it, the cake and ladyfinger layer may separate while cutting.
The nutmeg is optional, but highly recommended. It gives the cake a slightly warmer, more festive flavour and makes it feel different from a standard tiramisu.
You can replace the 3 eggs in the cake with 3 flax eggs. To make 3 flax eggs, mix 3 tbsp ground flaxseed with 9 tbsp water and let it sit for 10–15 minutes until it becomes thick and gel-like. The cake will still bake well, but it may be slightly denser and less rich than the version made with eggs.
You can make the cake a day ahead, assemble it the next day, and serve it the day after. In fact, the flavour gets better once the coffee, cocoa, mascarpone, and ladyfingers have had time to settle into each other.


