Making Pasta from Scratch
Pasta has been the one meal that I could eat everyday. The level of customization, flavor, and innovation that no other staple can offer. While rice is a close contender, it’s still not as diverse as malleable, boiled wheat.
My interest in pasta, like any other food, began only in college. Learning to cook pasta with a ragu sauce and a variety of different proteins, changing the intensity of flavors by adding natural aromatics like mint, basil, or fried garlic to transform the dish like packaged Sunfeast pasta to Olive Garden worthy. In fact, I was so proud of this store bought sauce spaghetti with shrimp and fresh mint back in the summer of 2015, that it occupied prime property on my Instagram feed (proof below).

There onwards, I experimented a lot more with homemade sauces. I improved a bolognese we make by cooking out a mirepoix of carrots and onions, boiling down fresh tomatoes with a medley of dried herbs, and then blitzing them into a food processor. The sieved product, while a lot less in quantity that its simpler (and lumpier) original recipe, was a lot more uniform in flavor and texture— much closer to a sauce than a soup!
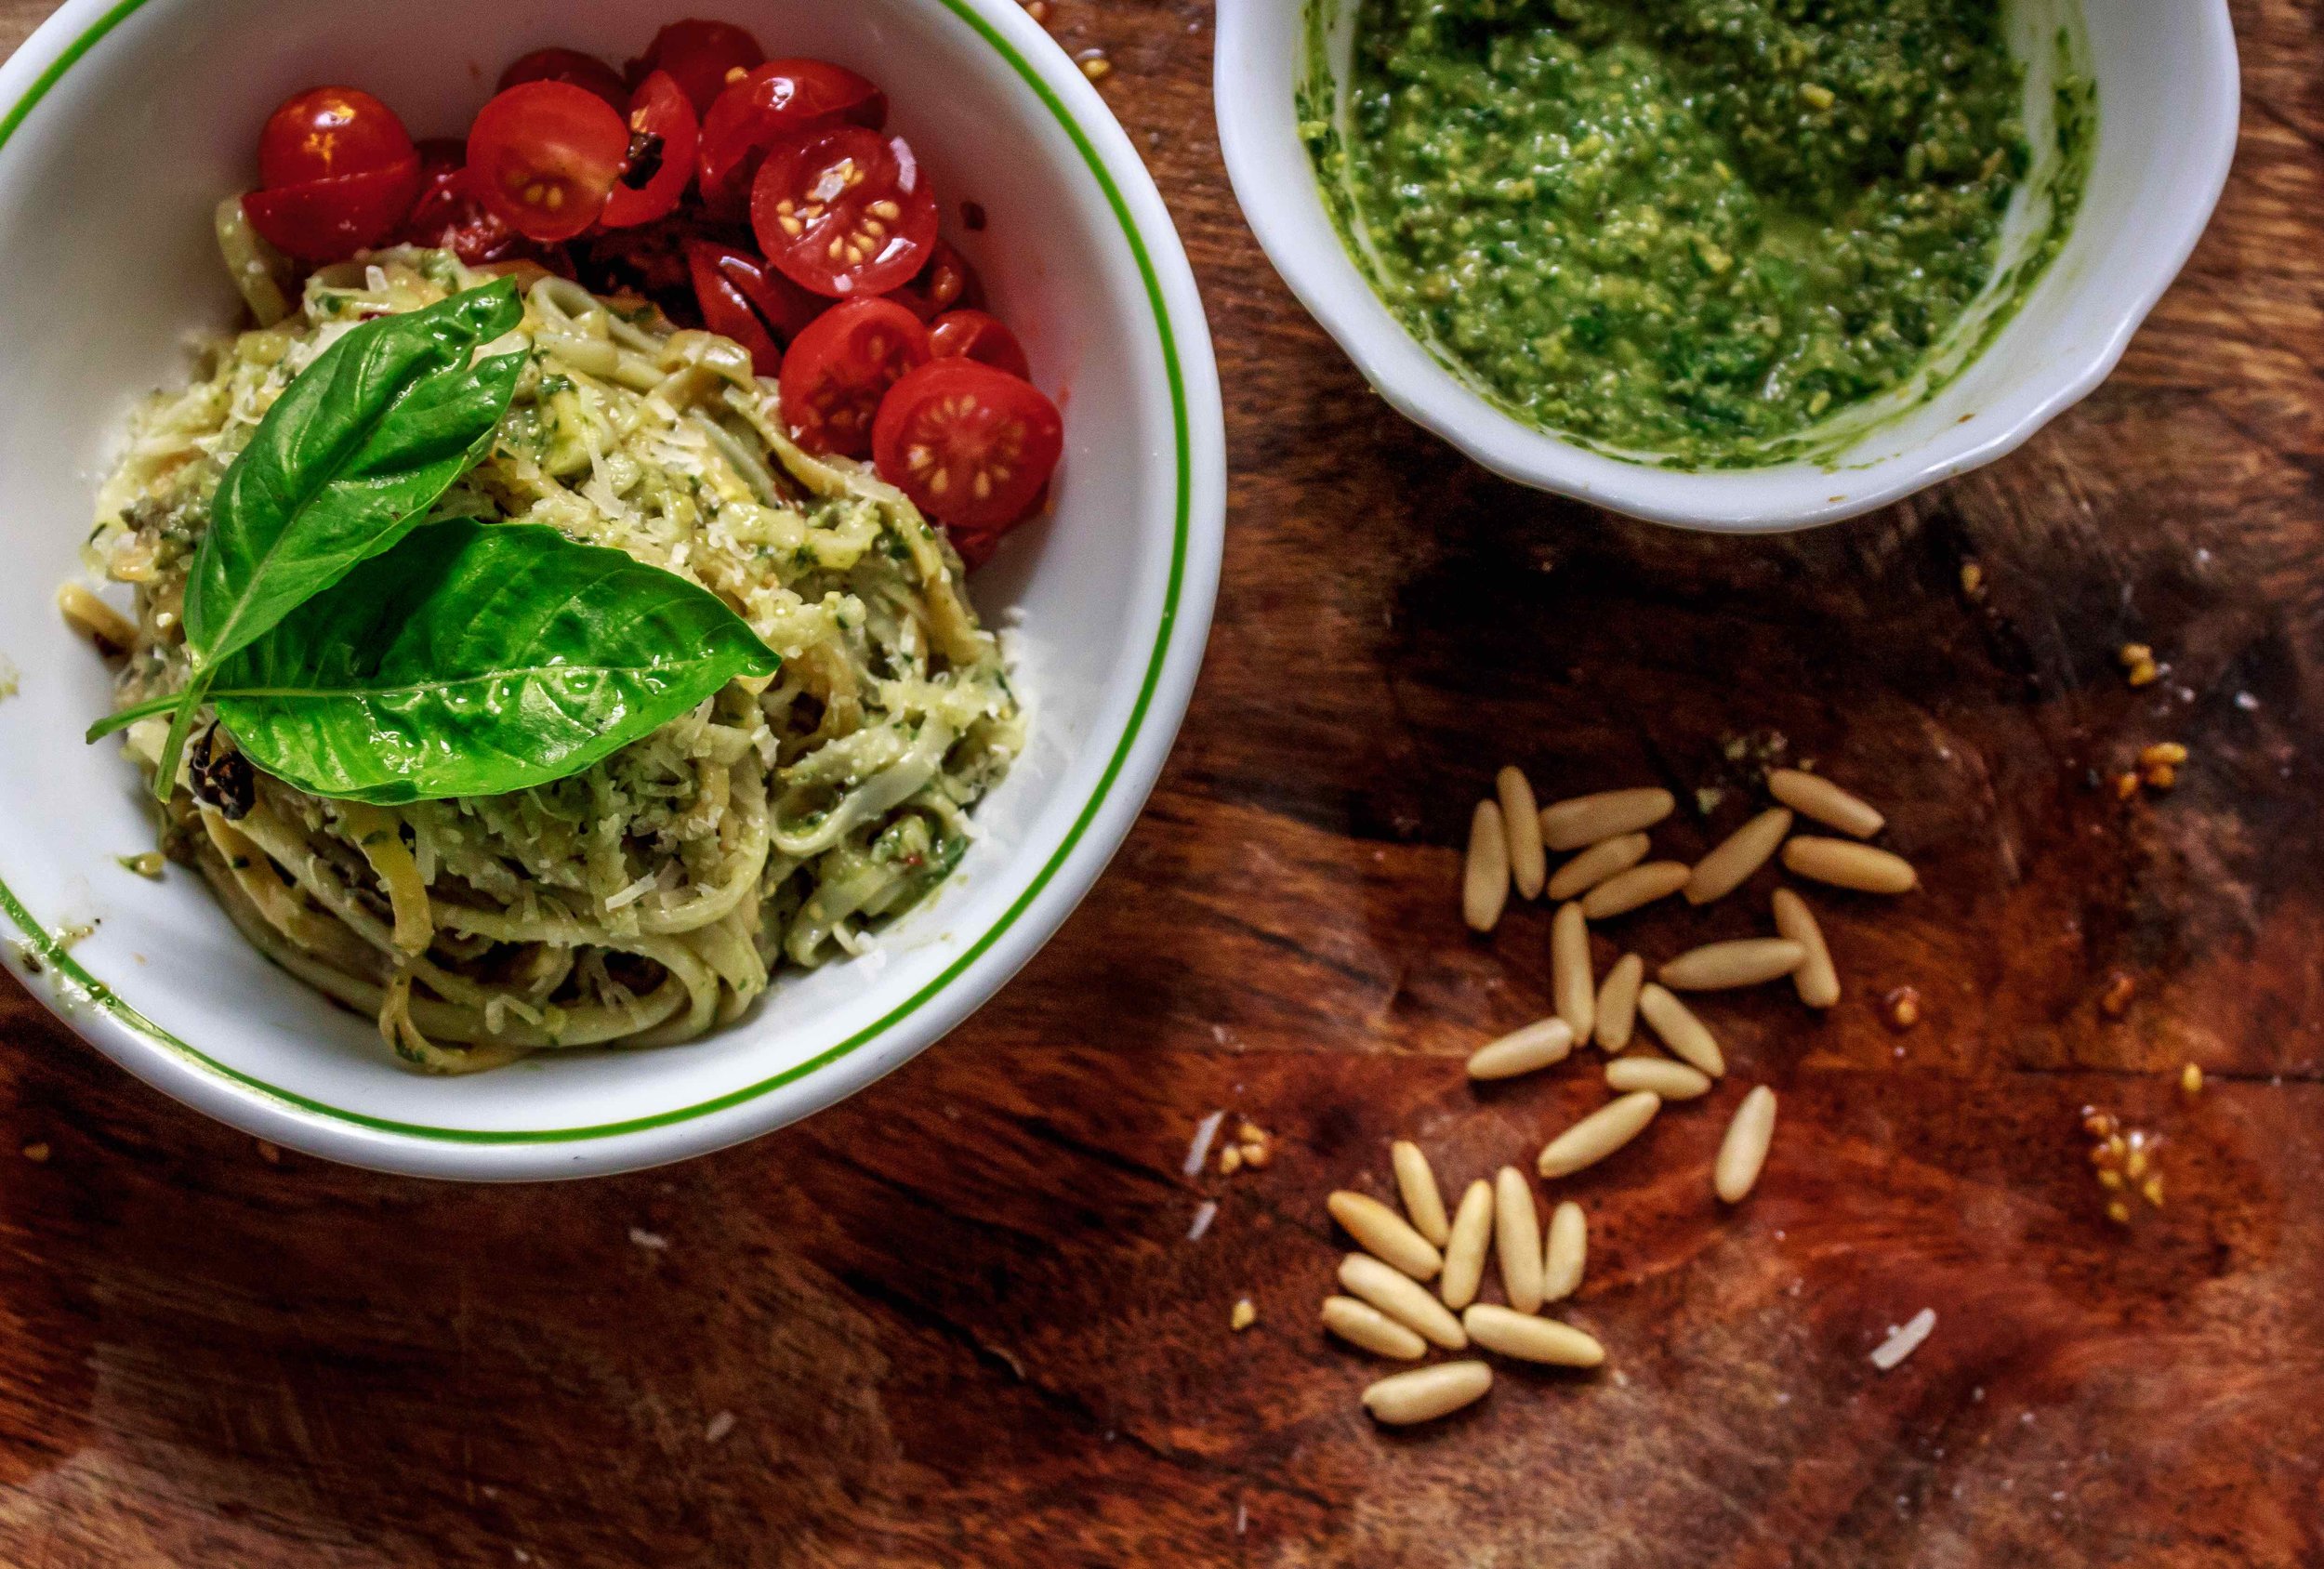
Basil pesto became my next obsession. I made it from scratch at home replacing parmesan with fresh mozzarella which, by the way, is the worst substitute ever. It begins to stretch when added to hot pasta, turning everything into a ball. Once I mastered the cheese to leafage ratio, I was able to play with the type of cheese. I distinctly remember a wonderful first date my senior year in college where I made pesto pasta from scratch with a lovely Wisconsin Monterey Jack topped with tiny mozzarella balls and fresh basil. Scores above Olive Garden, if I say so myself.
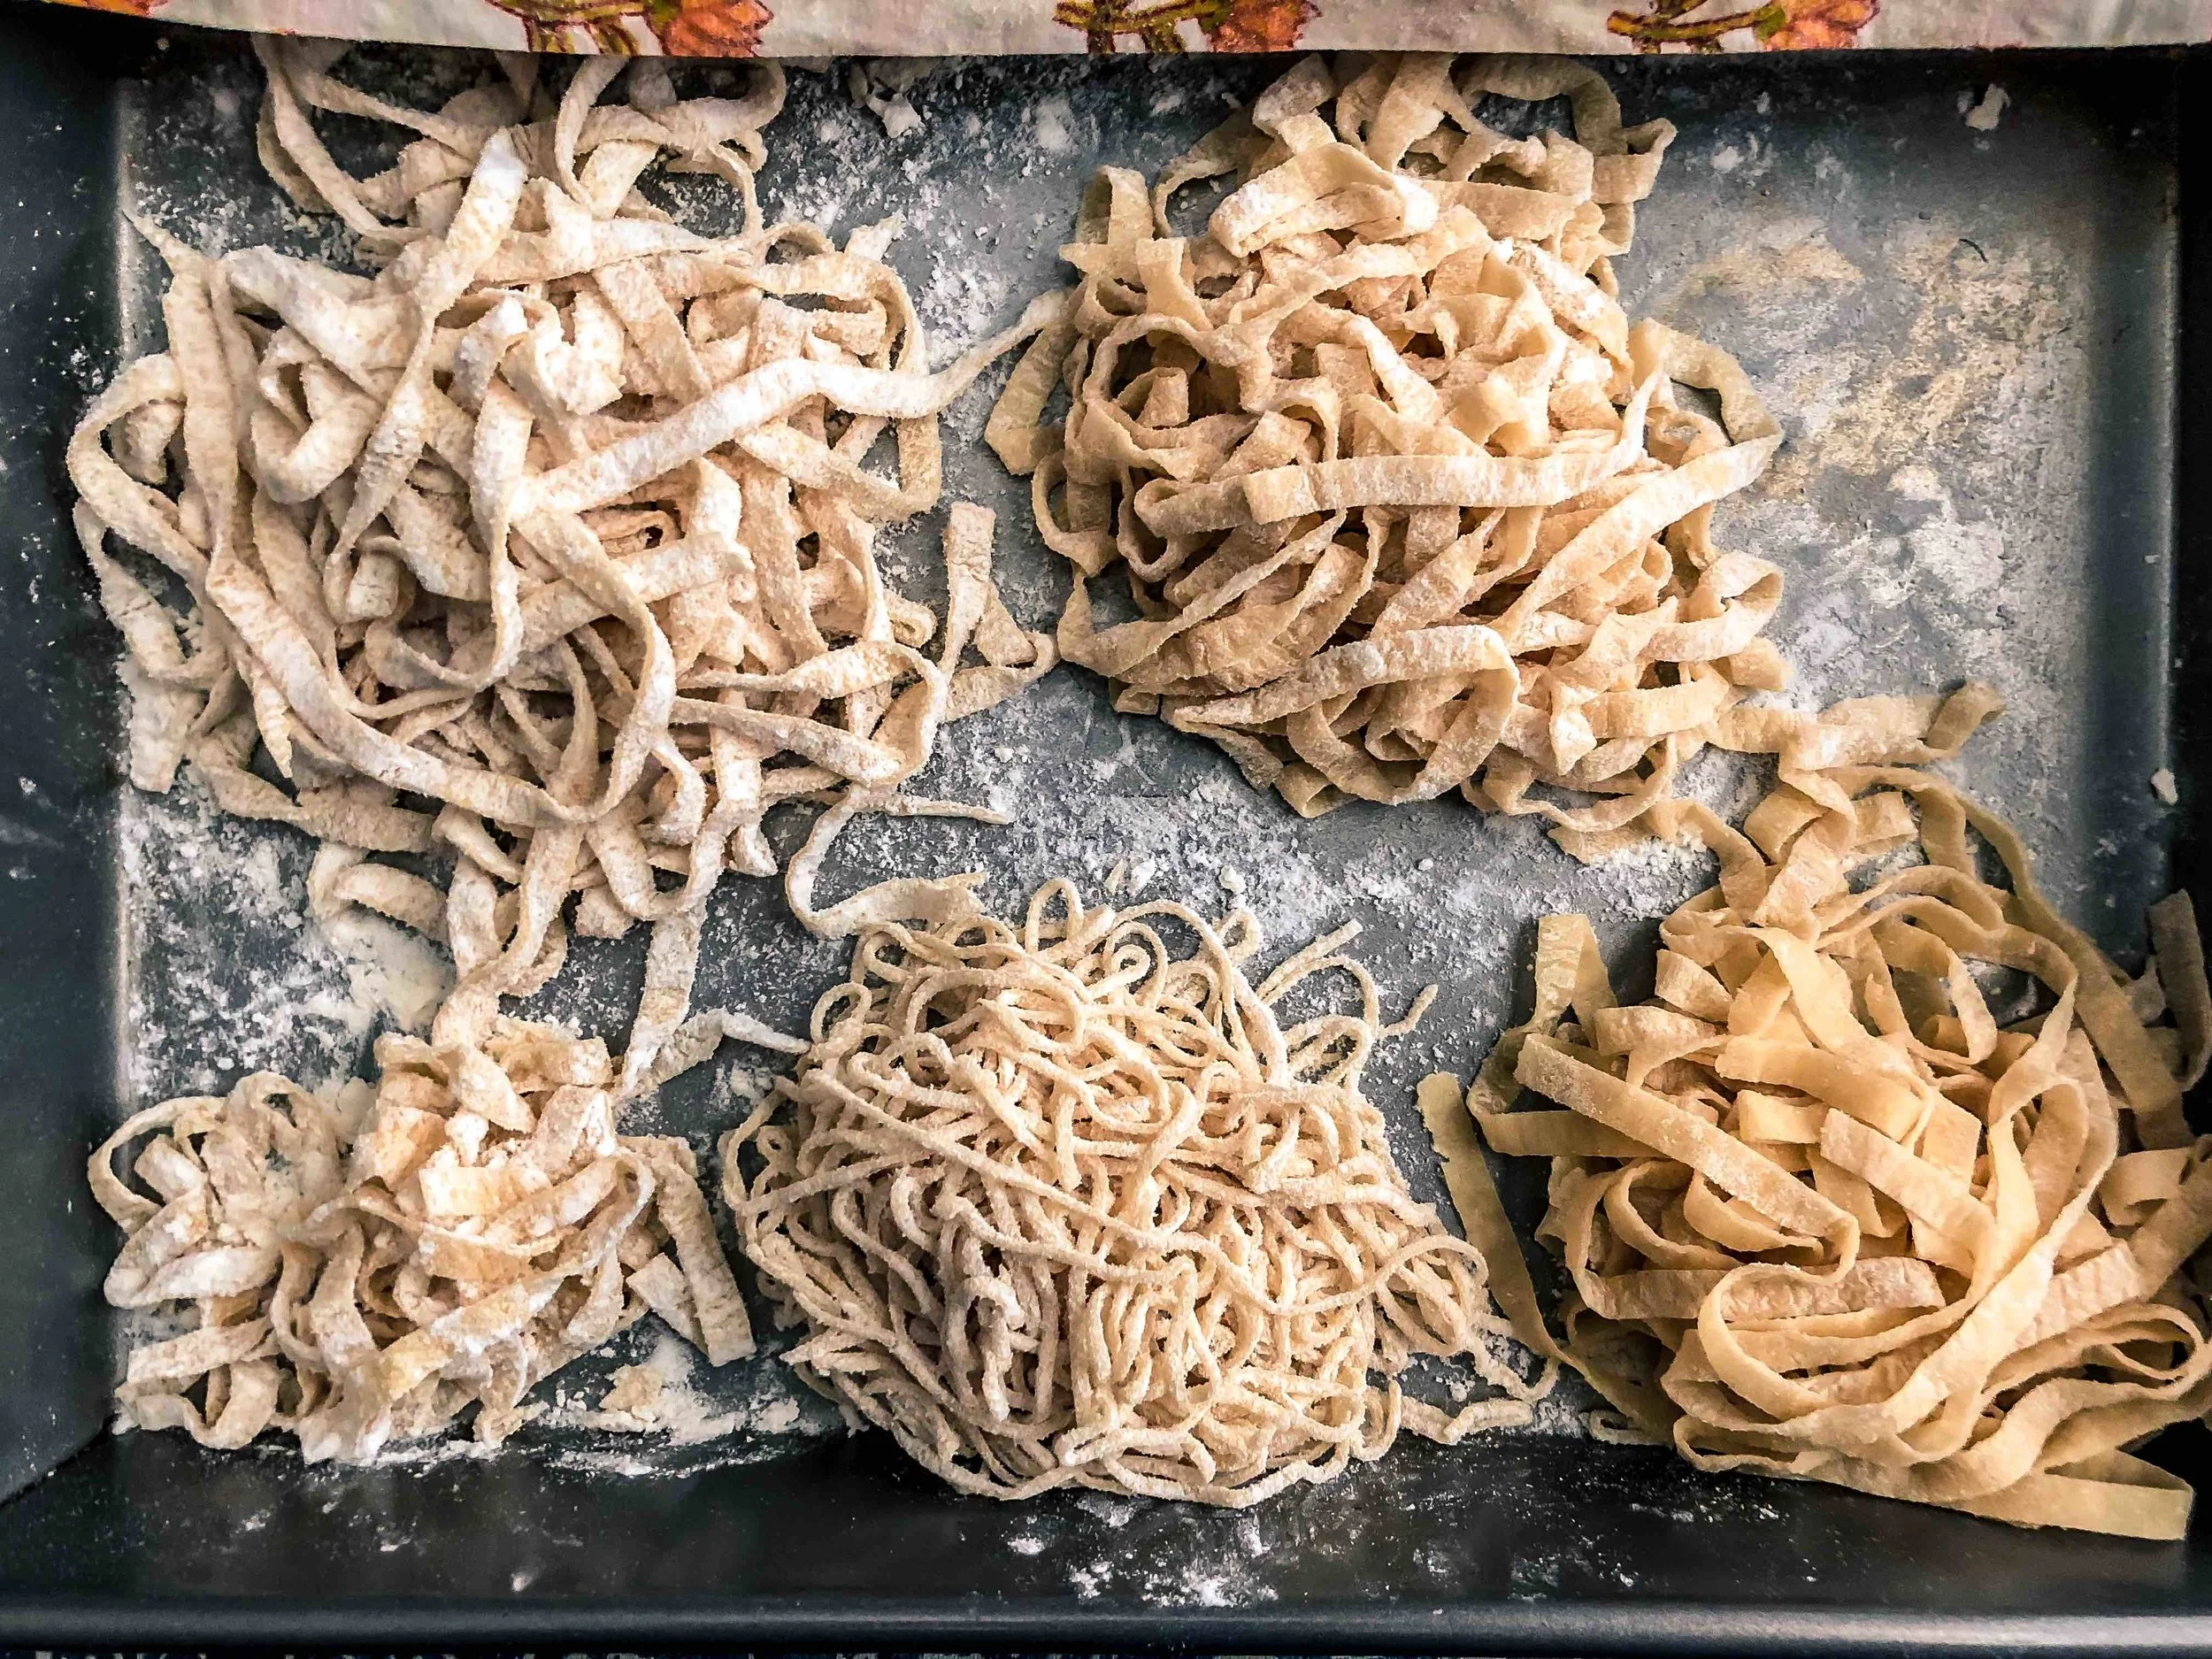
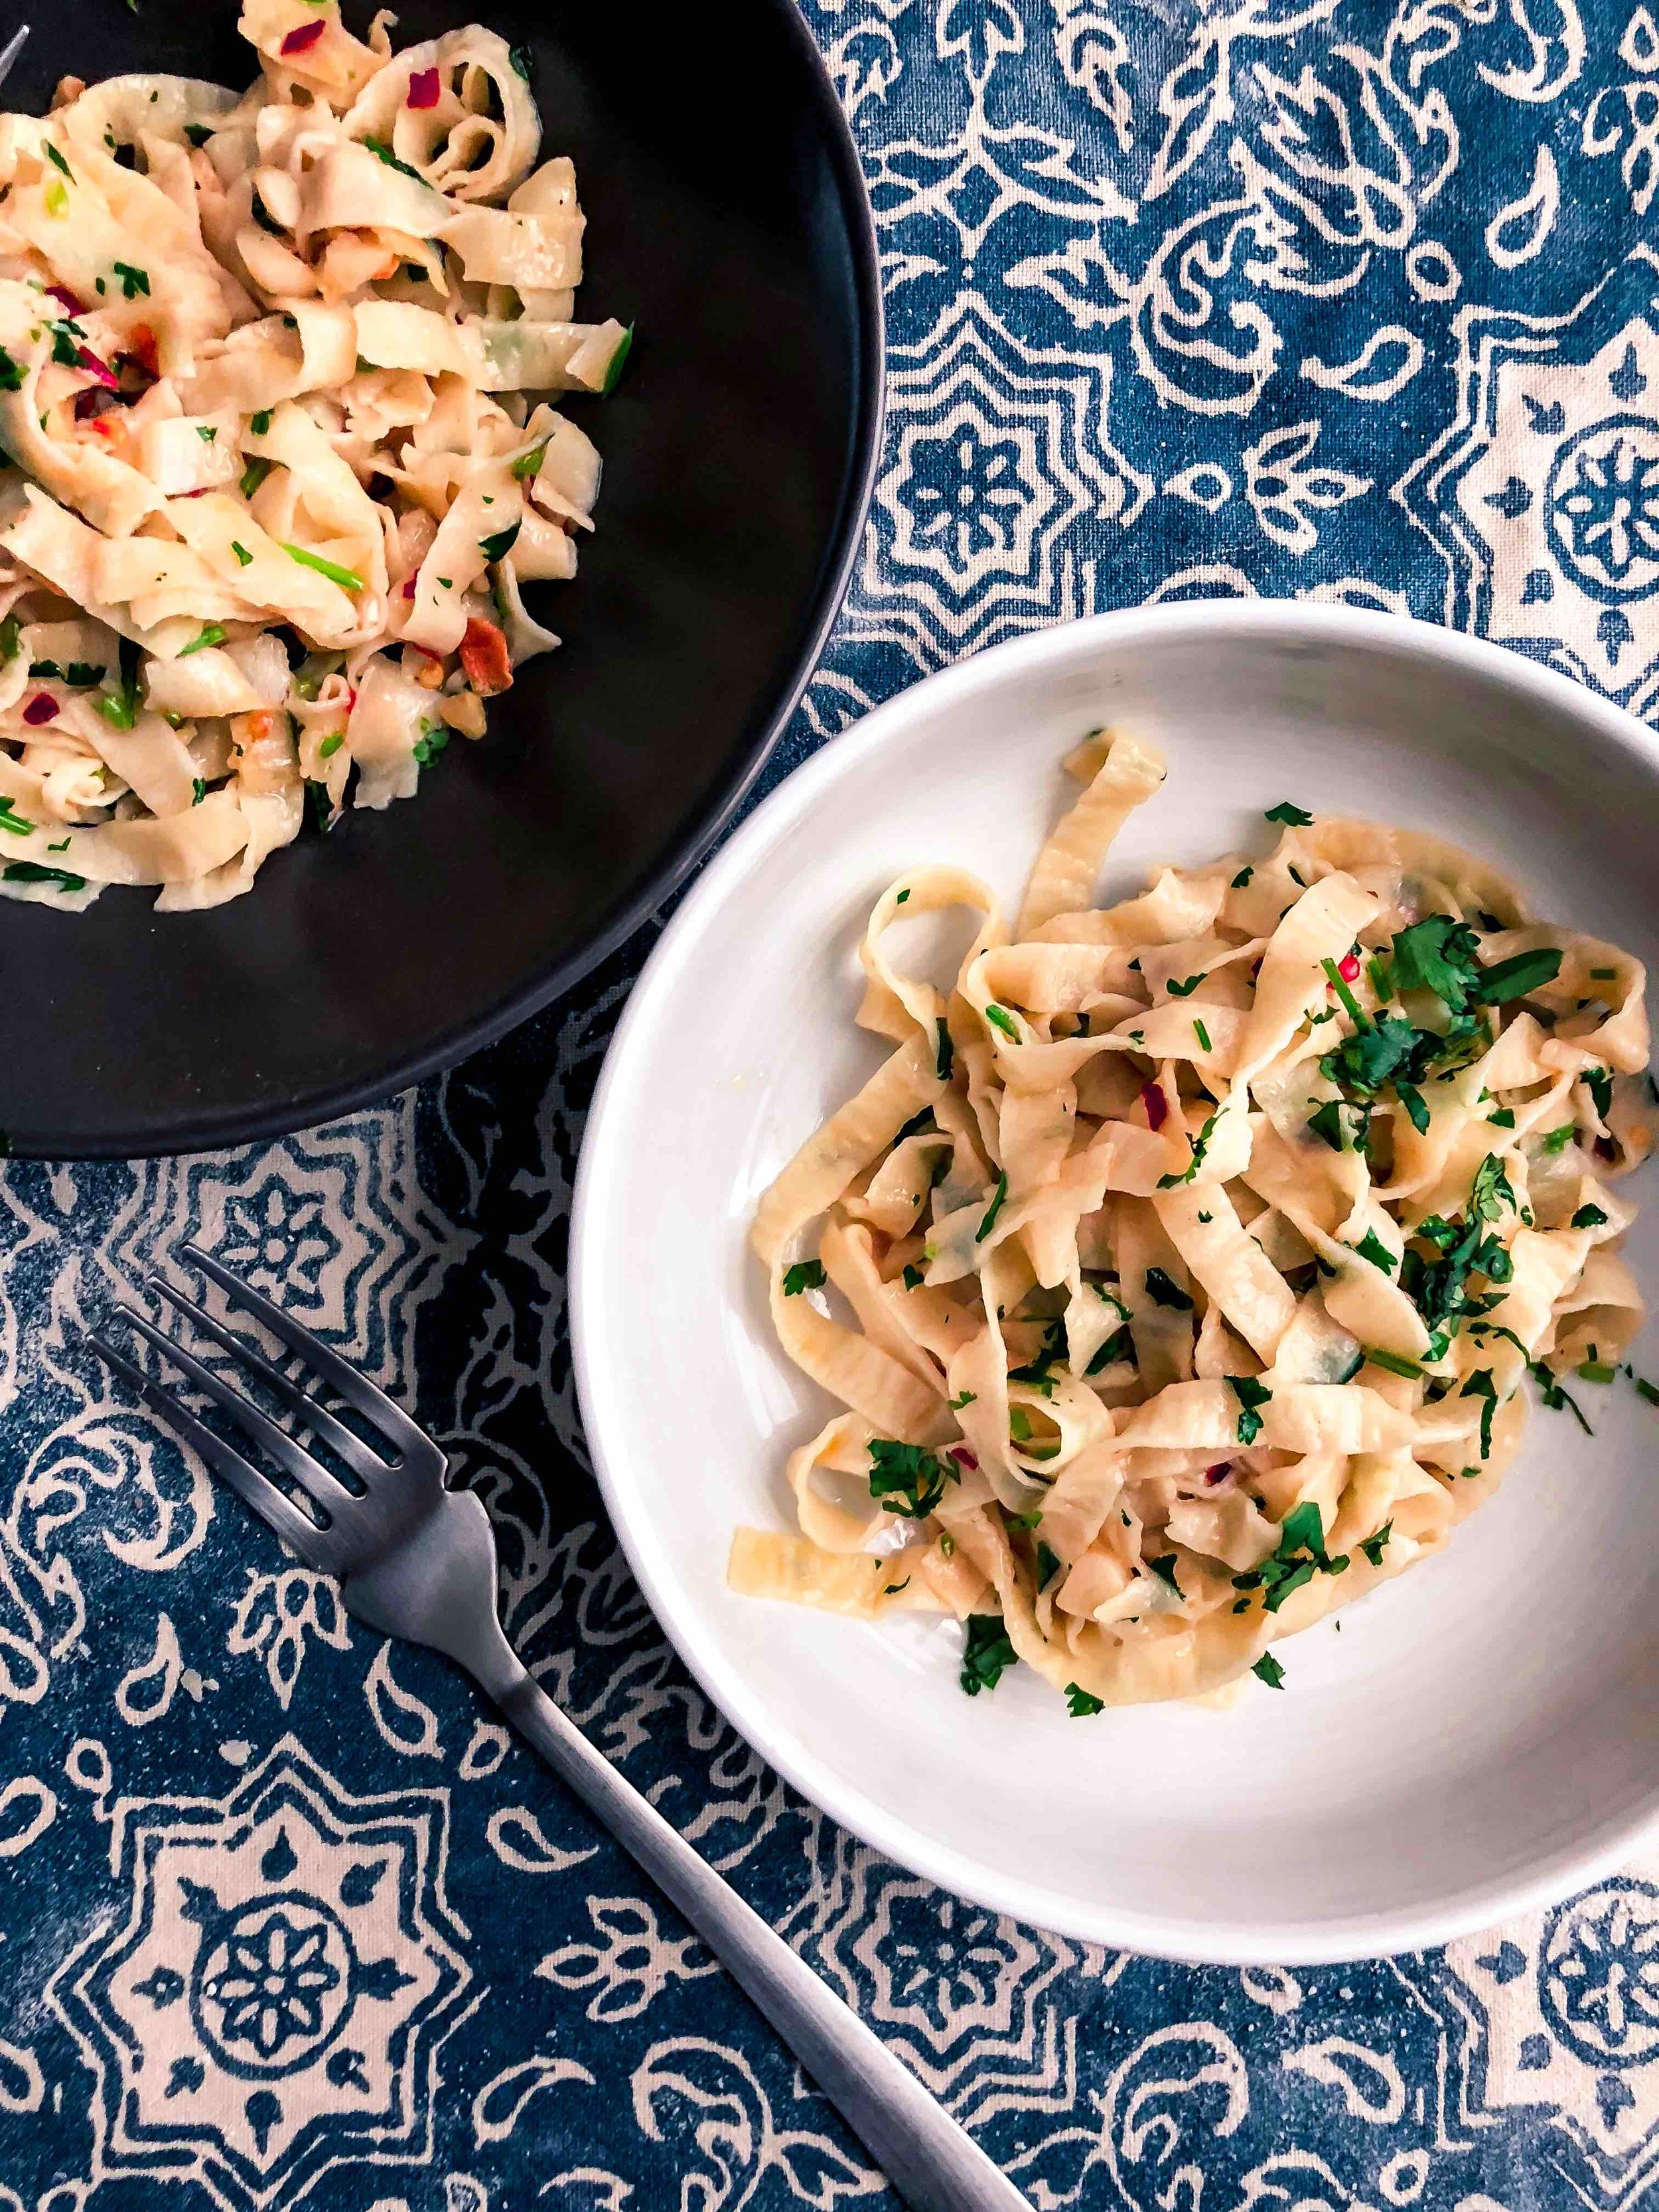
The idea of making the actual pasta from scratch has always remained a project that while excited me also meant a lot of commitment in terms of time with a low return on investment. I always felt as though making pasta from scratch would be so long and painful that I would never really want to do it since the original product is already good enough. However, while I was in Mumbai my dad and I saw this Italian food producer’s store and fell in love with this titanium pasta maker straight from across the Aegean that we just felt like we needed it. With my newly minted wedding money (yup, that's a thing) and a positive push from Dad, I decided on making the purchase. The process you see below is the product of my first full day of working with the press and getting the hang of making the pasta. As I go through the steps, I will explain how this is different than store-bought, but here’s a spoiler: it's much much much better.
Ingredients and equipment
Ingredients are simple, flour, eggs, olive oil, and salt. Any type if flour works as long as there is a high gluten content. Wheat flour does the best for obvious reasons and the finer you get with the size of the grain, the less finicky it is. Traditionalist would use a 00 flour and dust with a grainy semolina flour. I, being new to the process went as traditional as I could afford to (and remember as I did grocery shopping)
Use the freshest eggs you can find, any olive oil would do, and salt is salt.
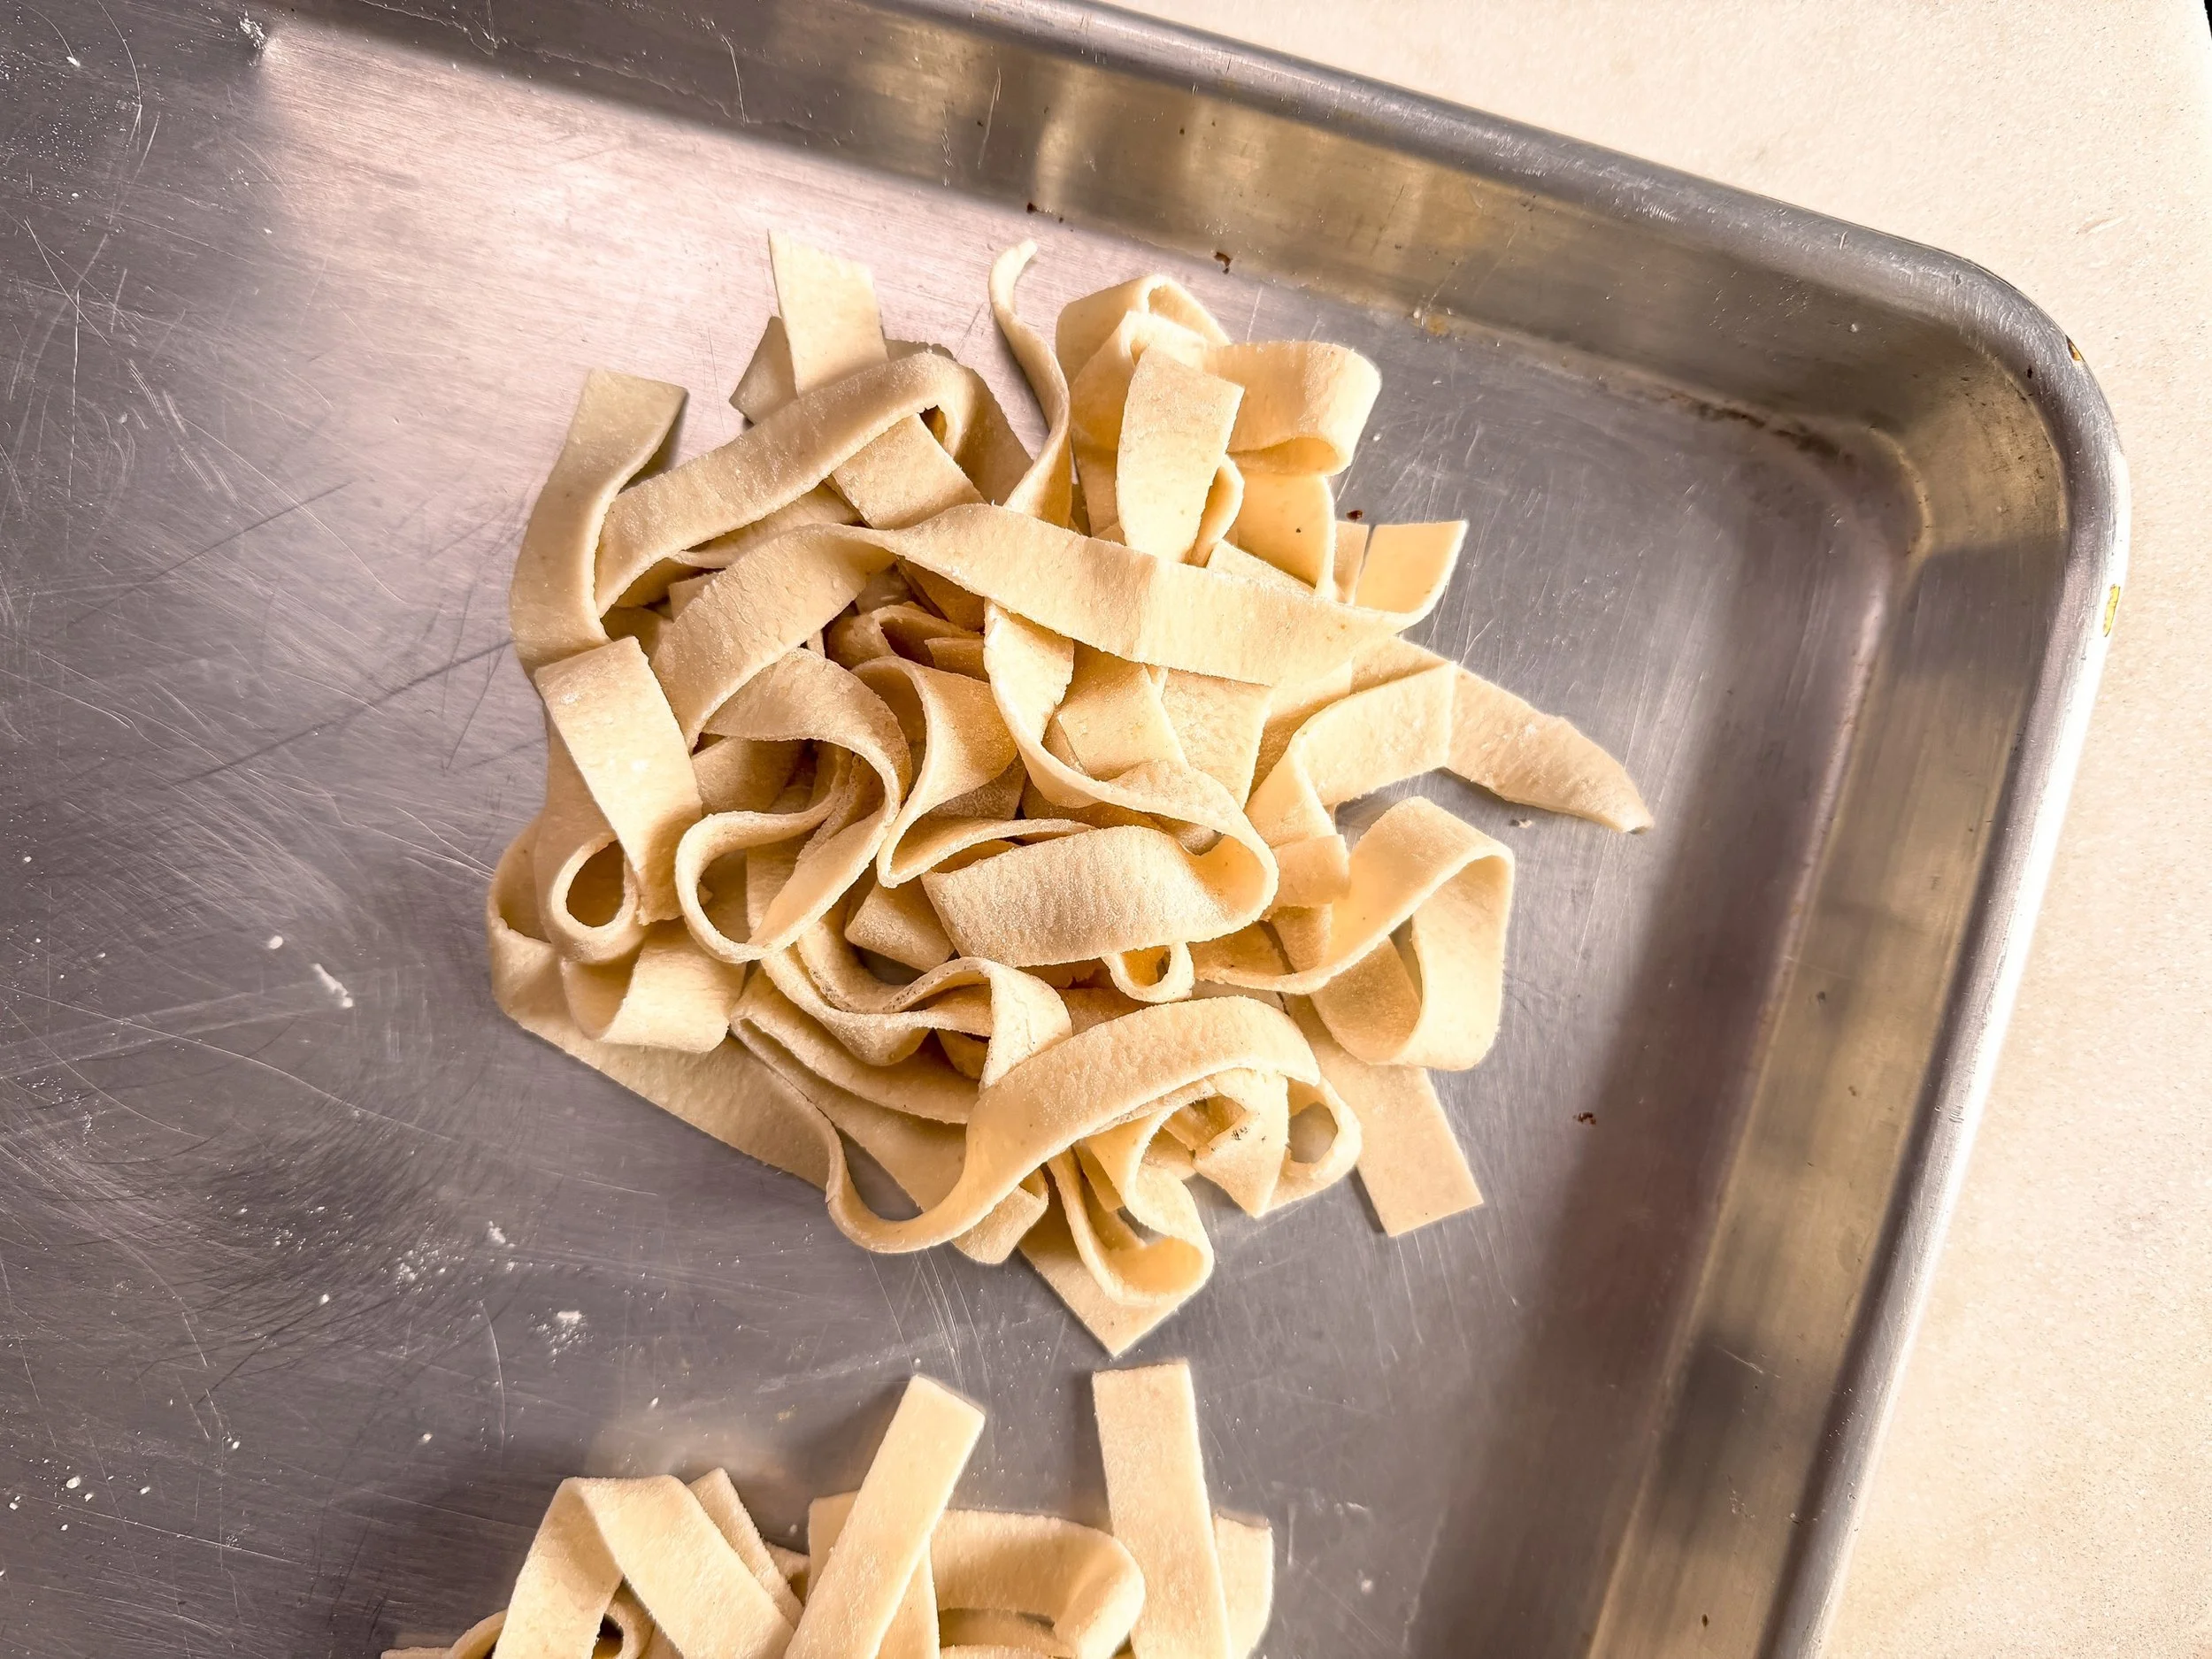
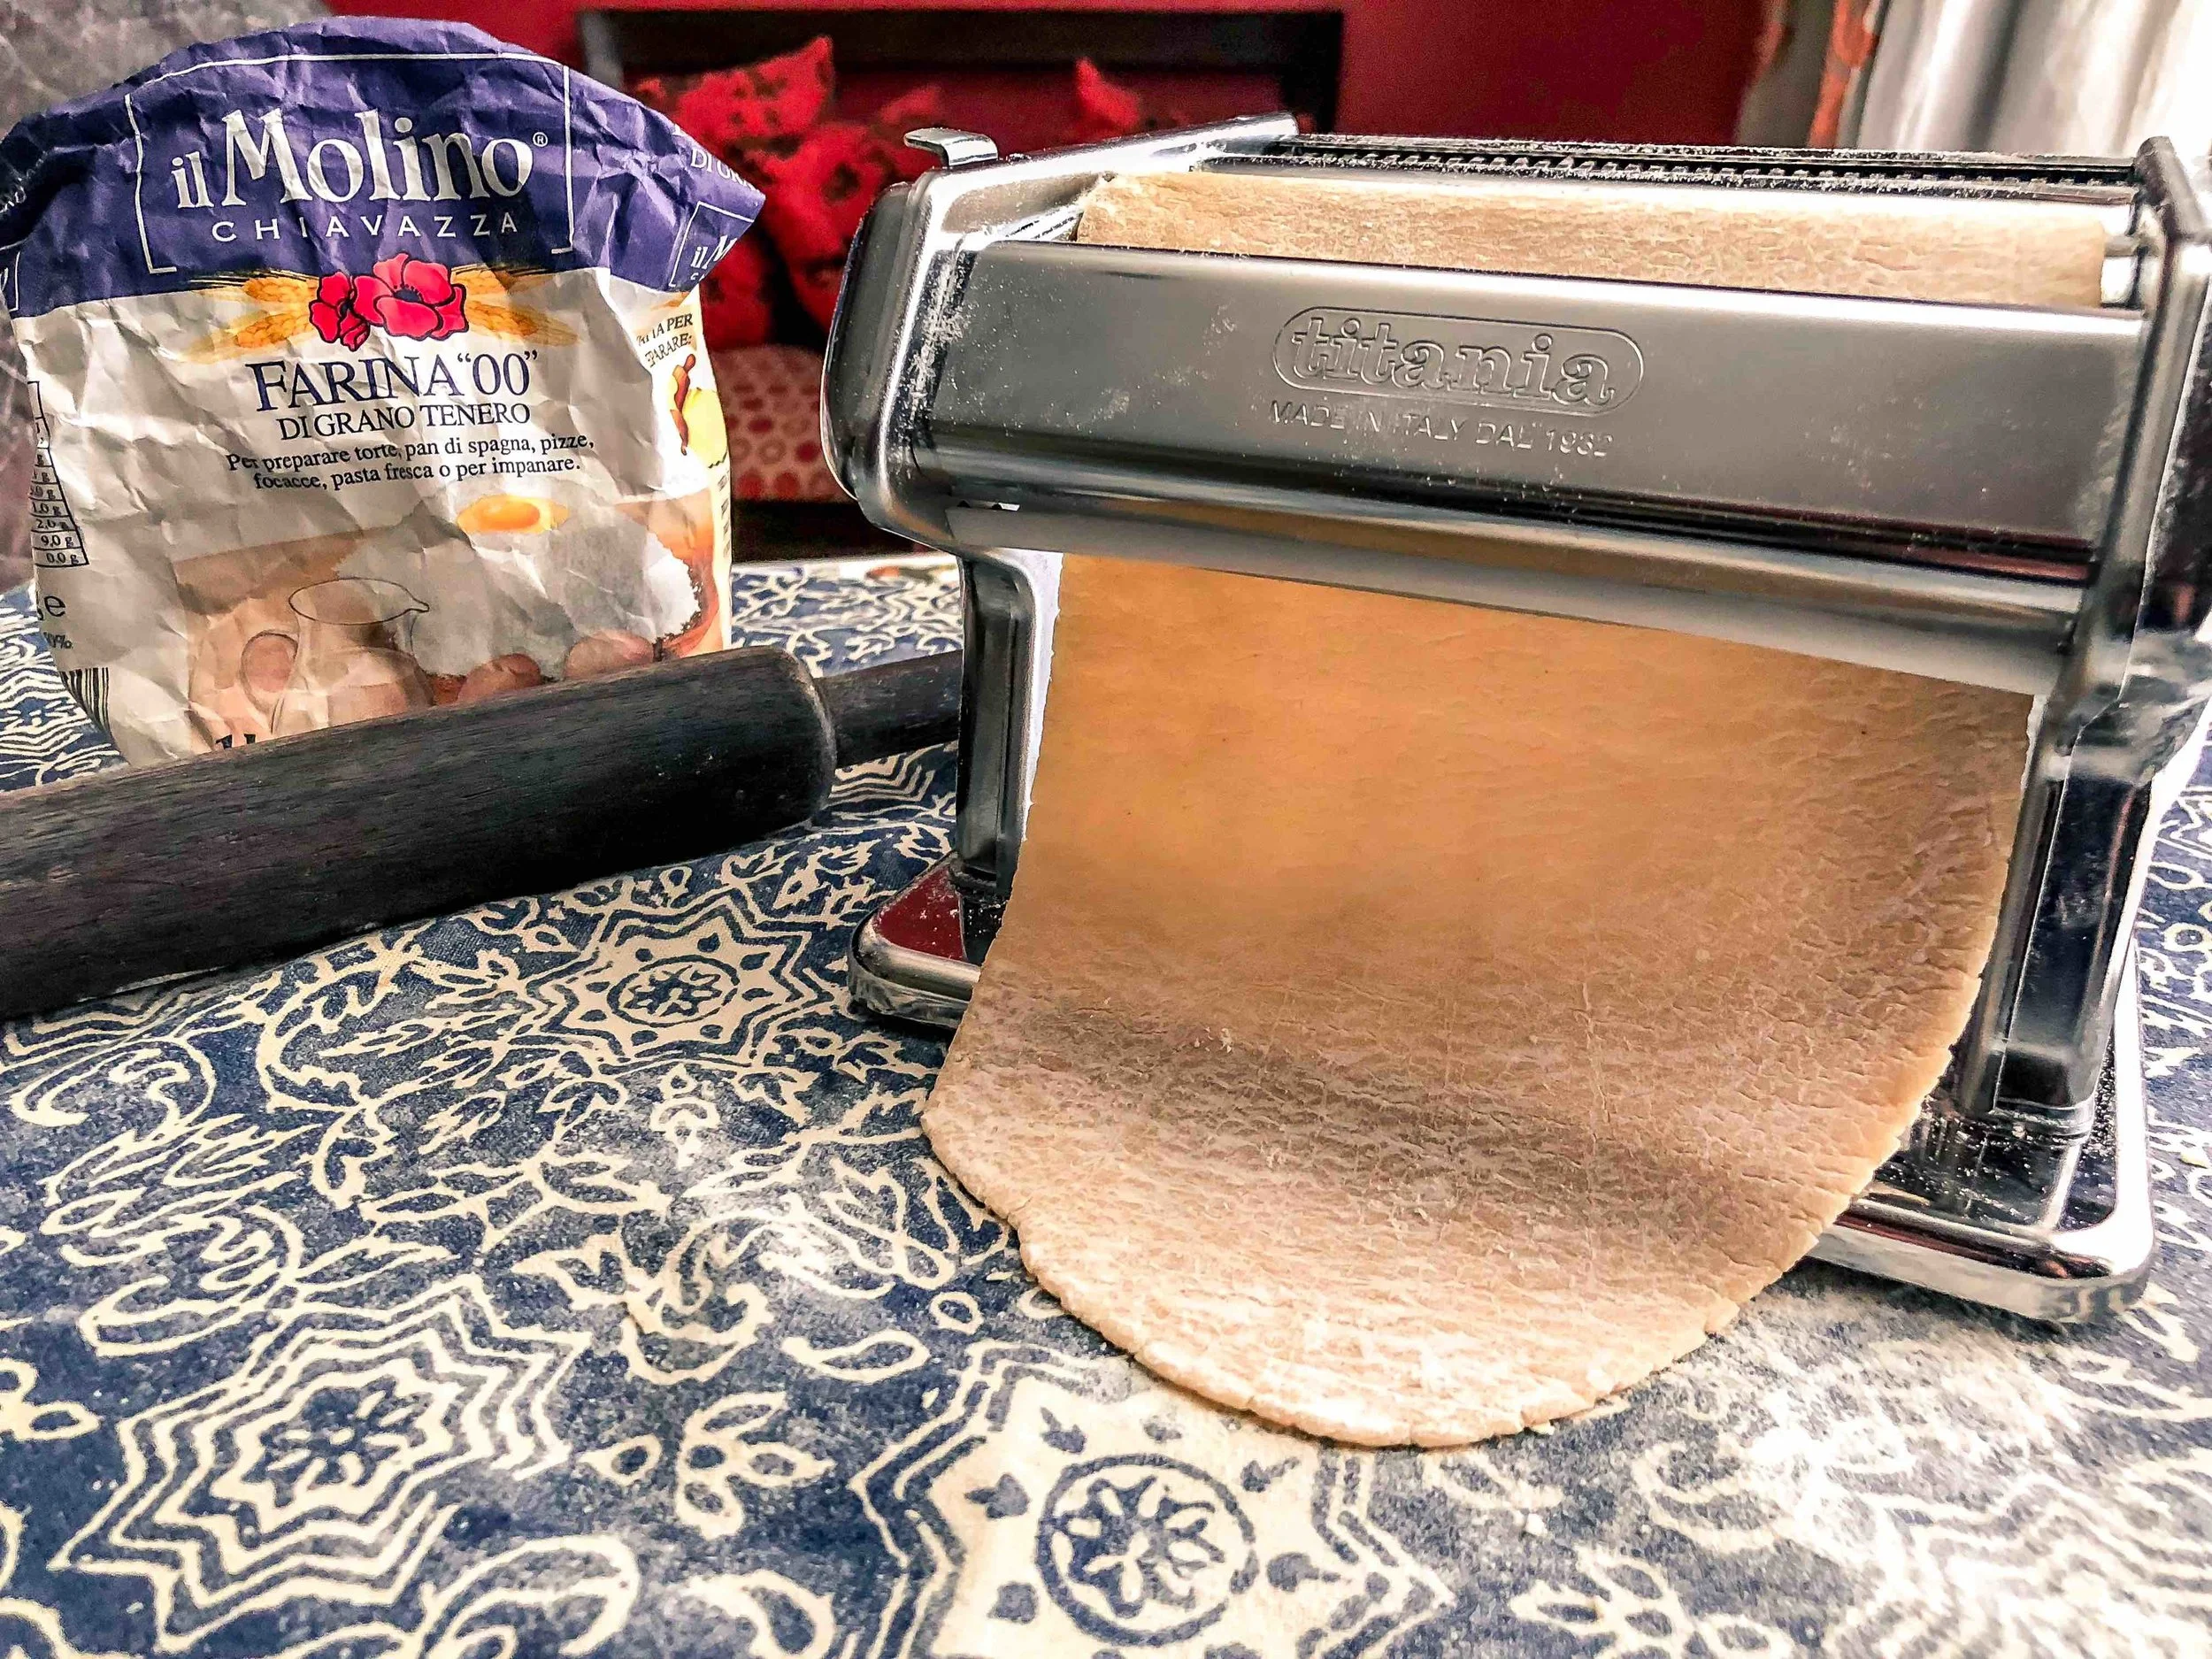
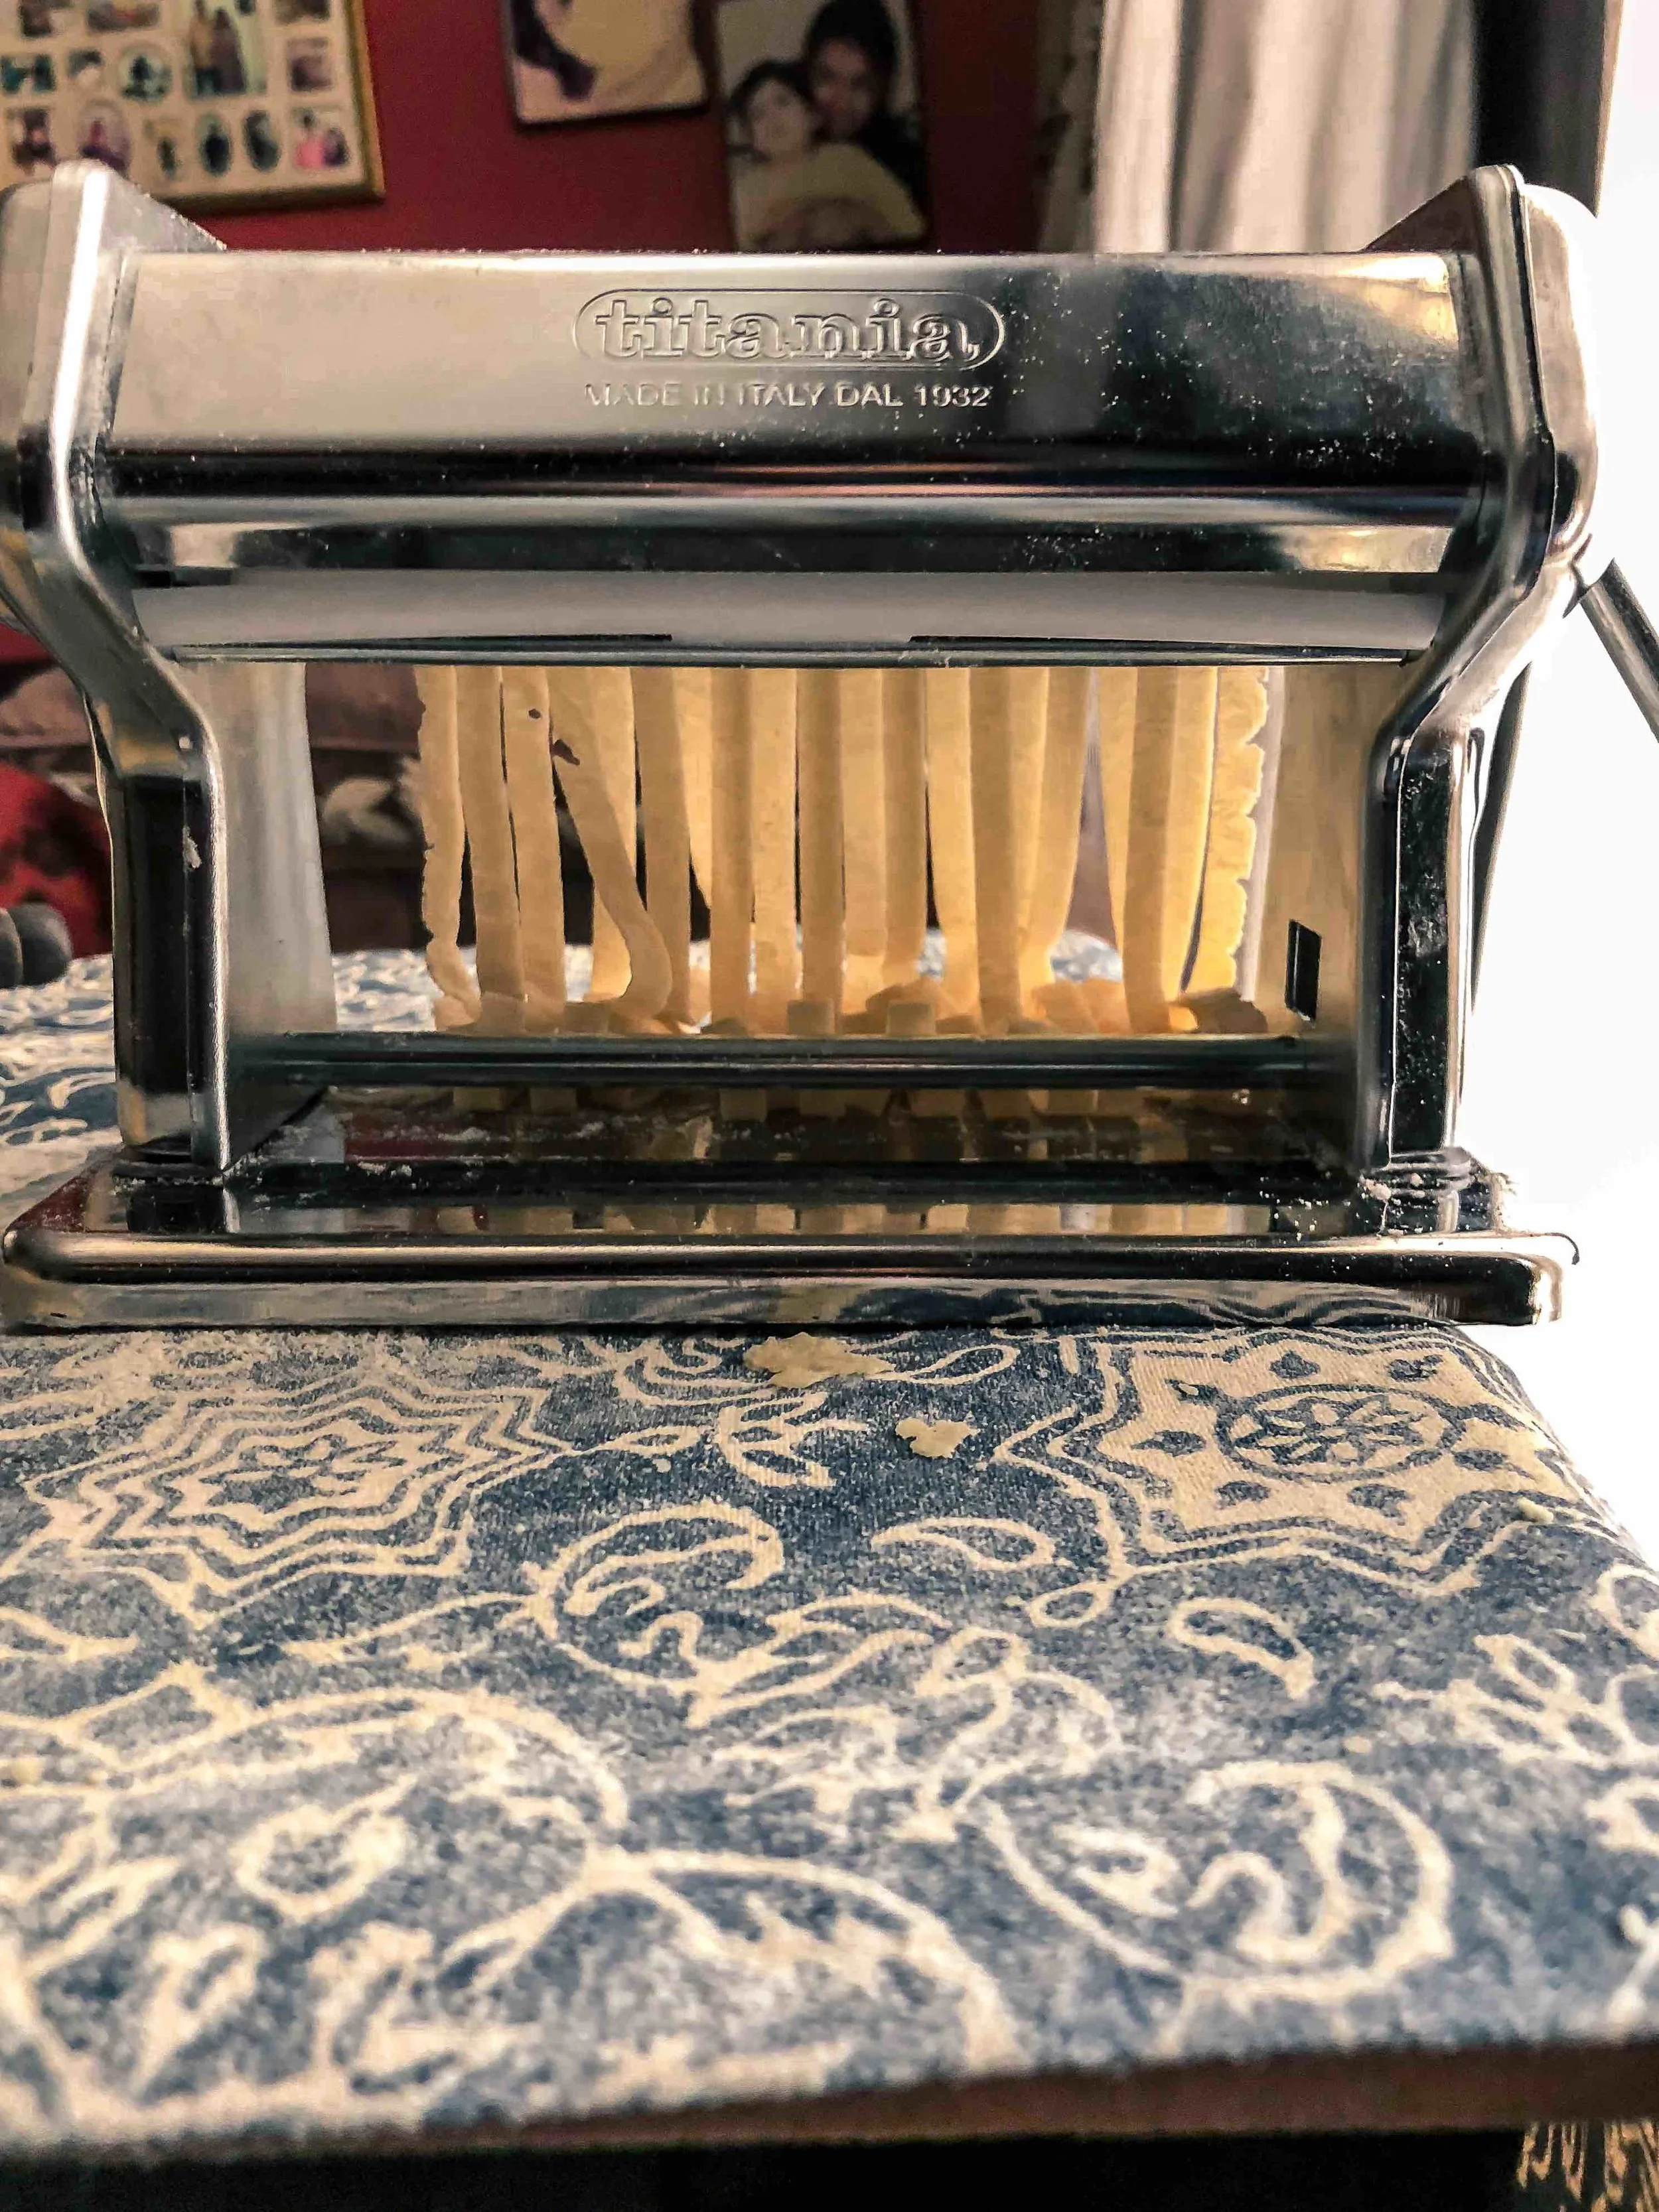
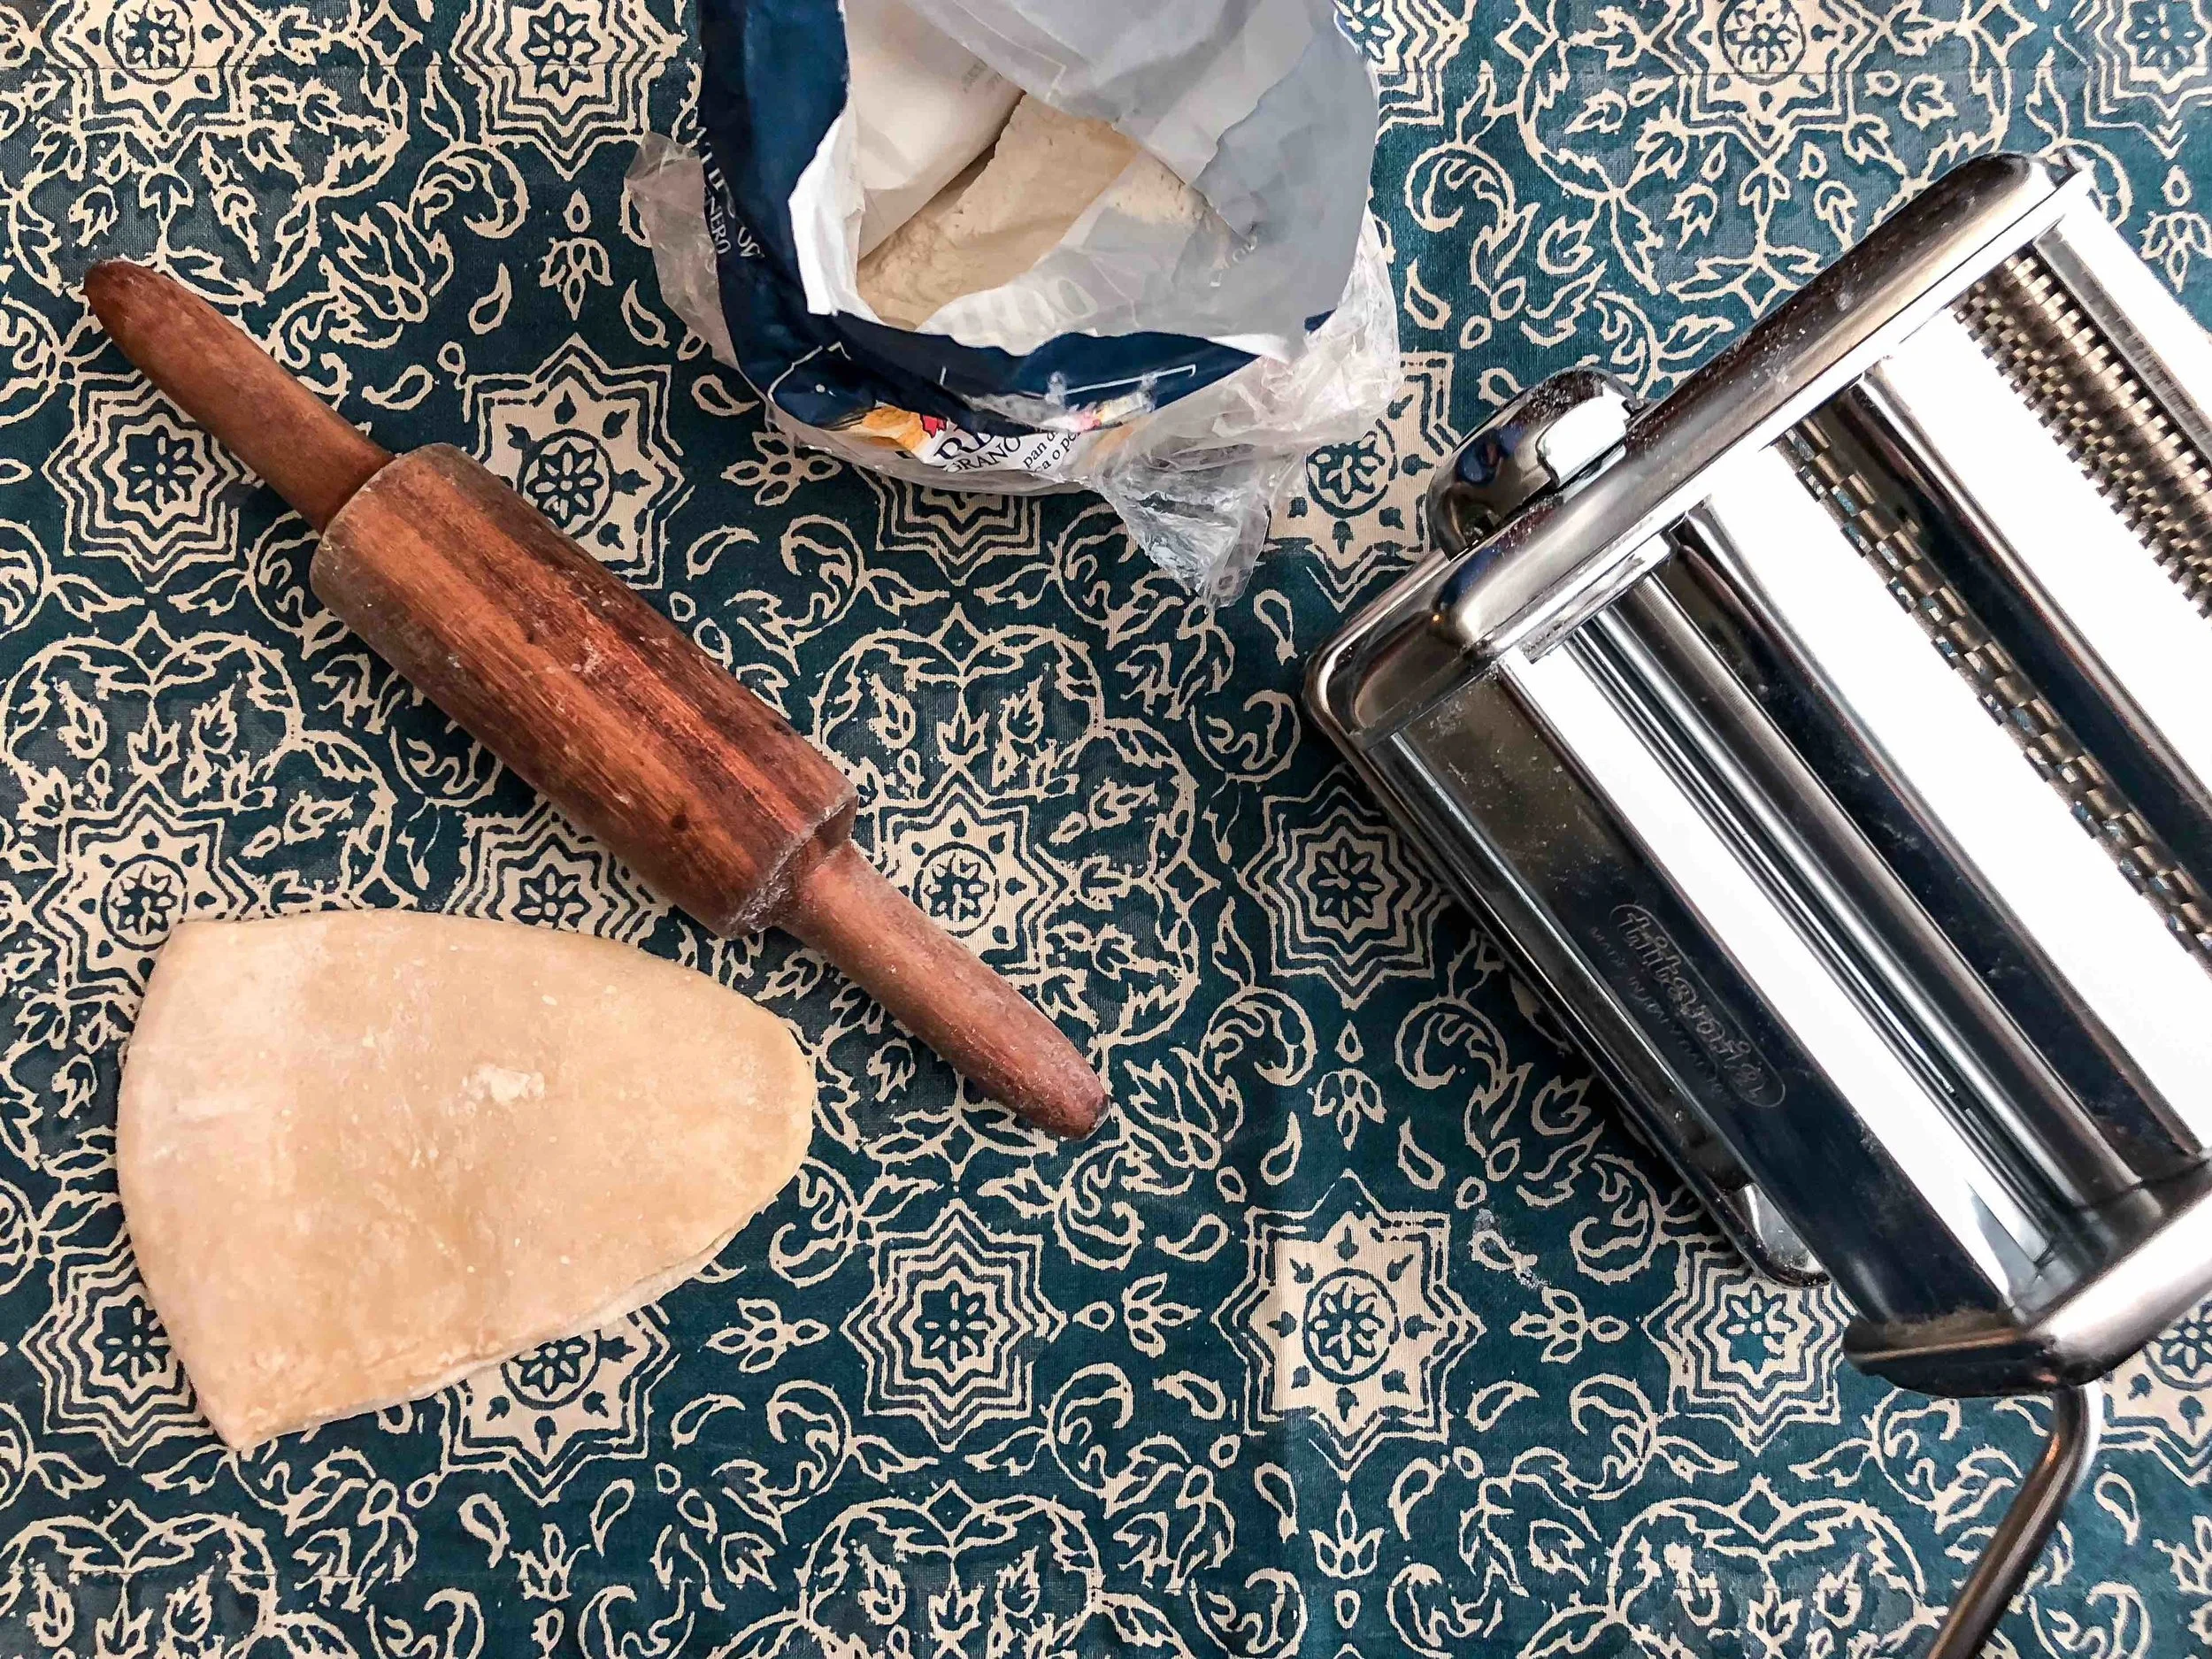
I used a pasta maker and that laminates the dough thin and slices it evenly into either pappardelle, tagliatelle, or ramen. However, you don’t really need a pasta maker. A rolling, knife and a steady hand would do just fine.
Making the Pasta

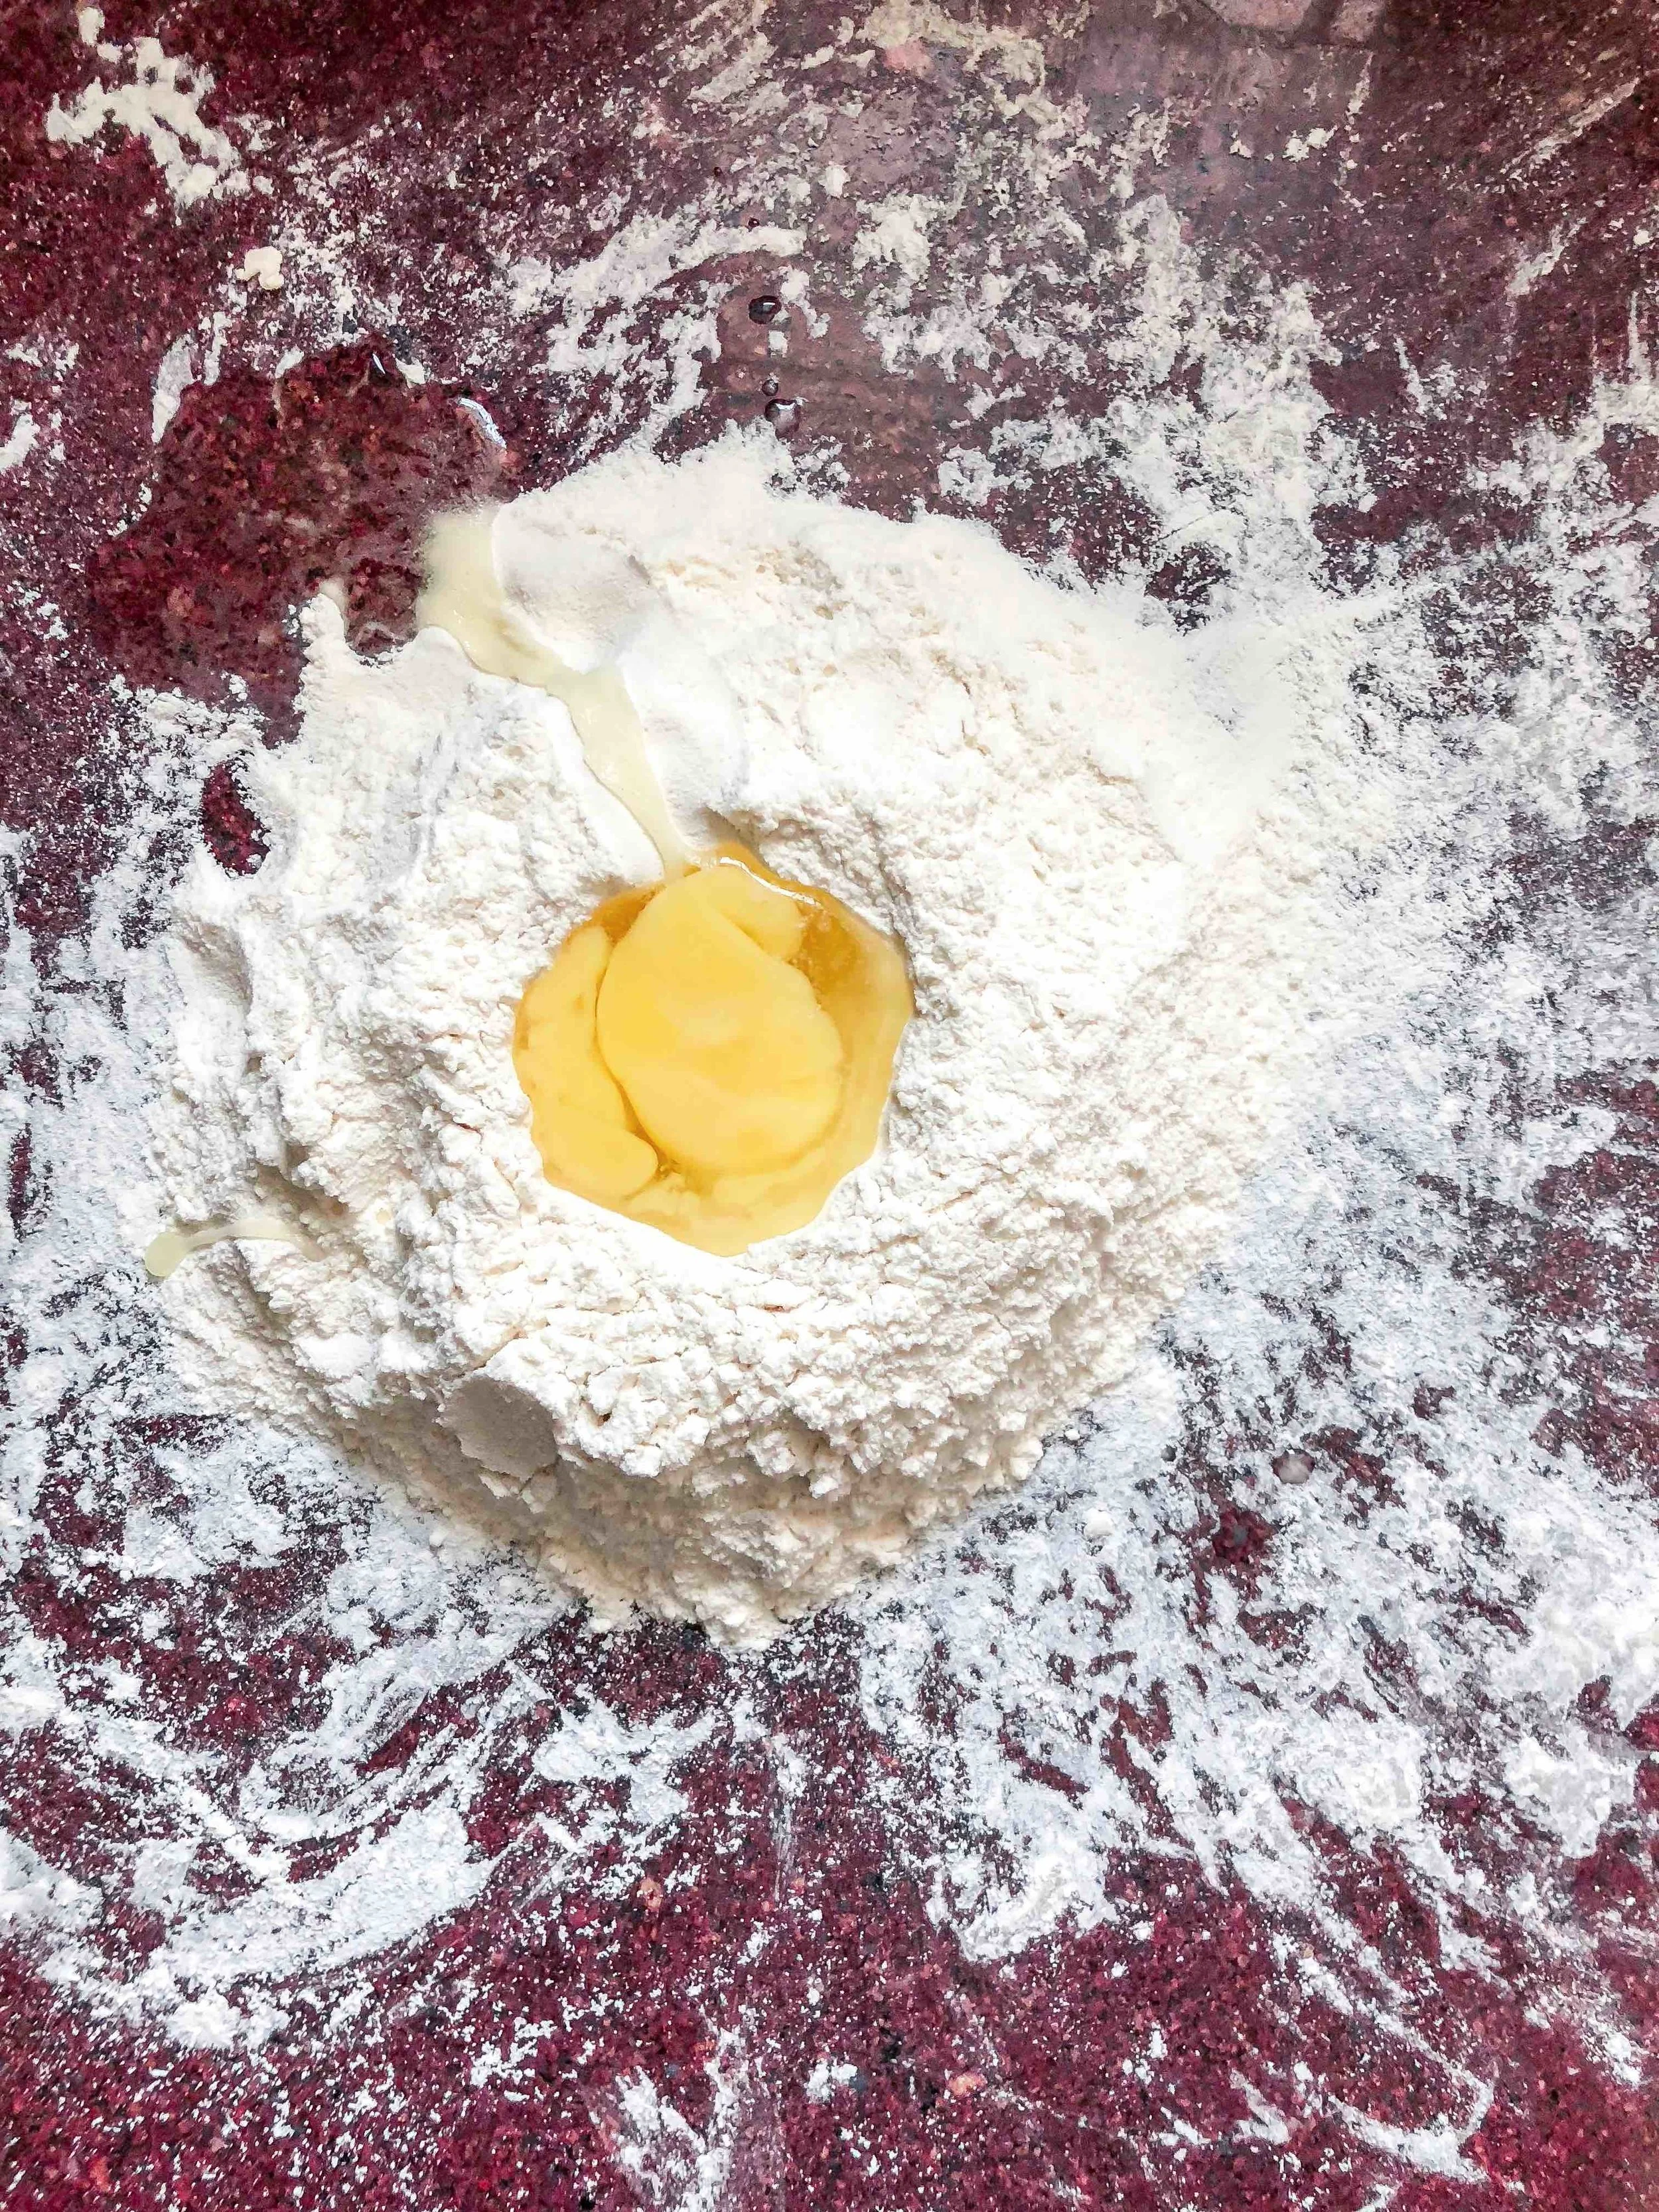


In 200 grams of flour on a cold working surface, make a well, add 2 eggs, a teaspoon of olive oil, and a good pinch of salt
Knead well. Anywhere between 10-15 minutes. Add dry flour if the dough is too tacky or water if the dough is too dry
Once kneaded, divide the dough in half, and wrap in individual airtight cling films. Place in the fridge for 30 minutes
On a well-floured surface, roll out the dough with a rolling pin.
Roll once, fold and roll again
If you are using a pasta maker, start laminating. From the highest setting to the second smallest setting. Flour well before every process.
Now use a cut setting you desire. Place the pasta under a damp cloth to prevent drying. Freeze the pasta. It will keep good
In salted boiling water, add the pasta cook for 4 minutes until al dente.
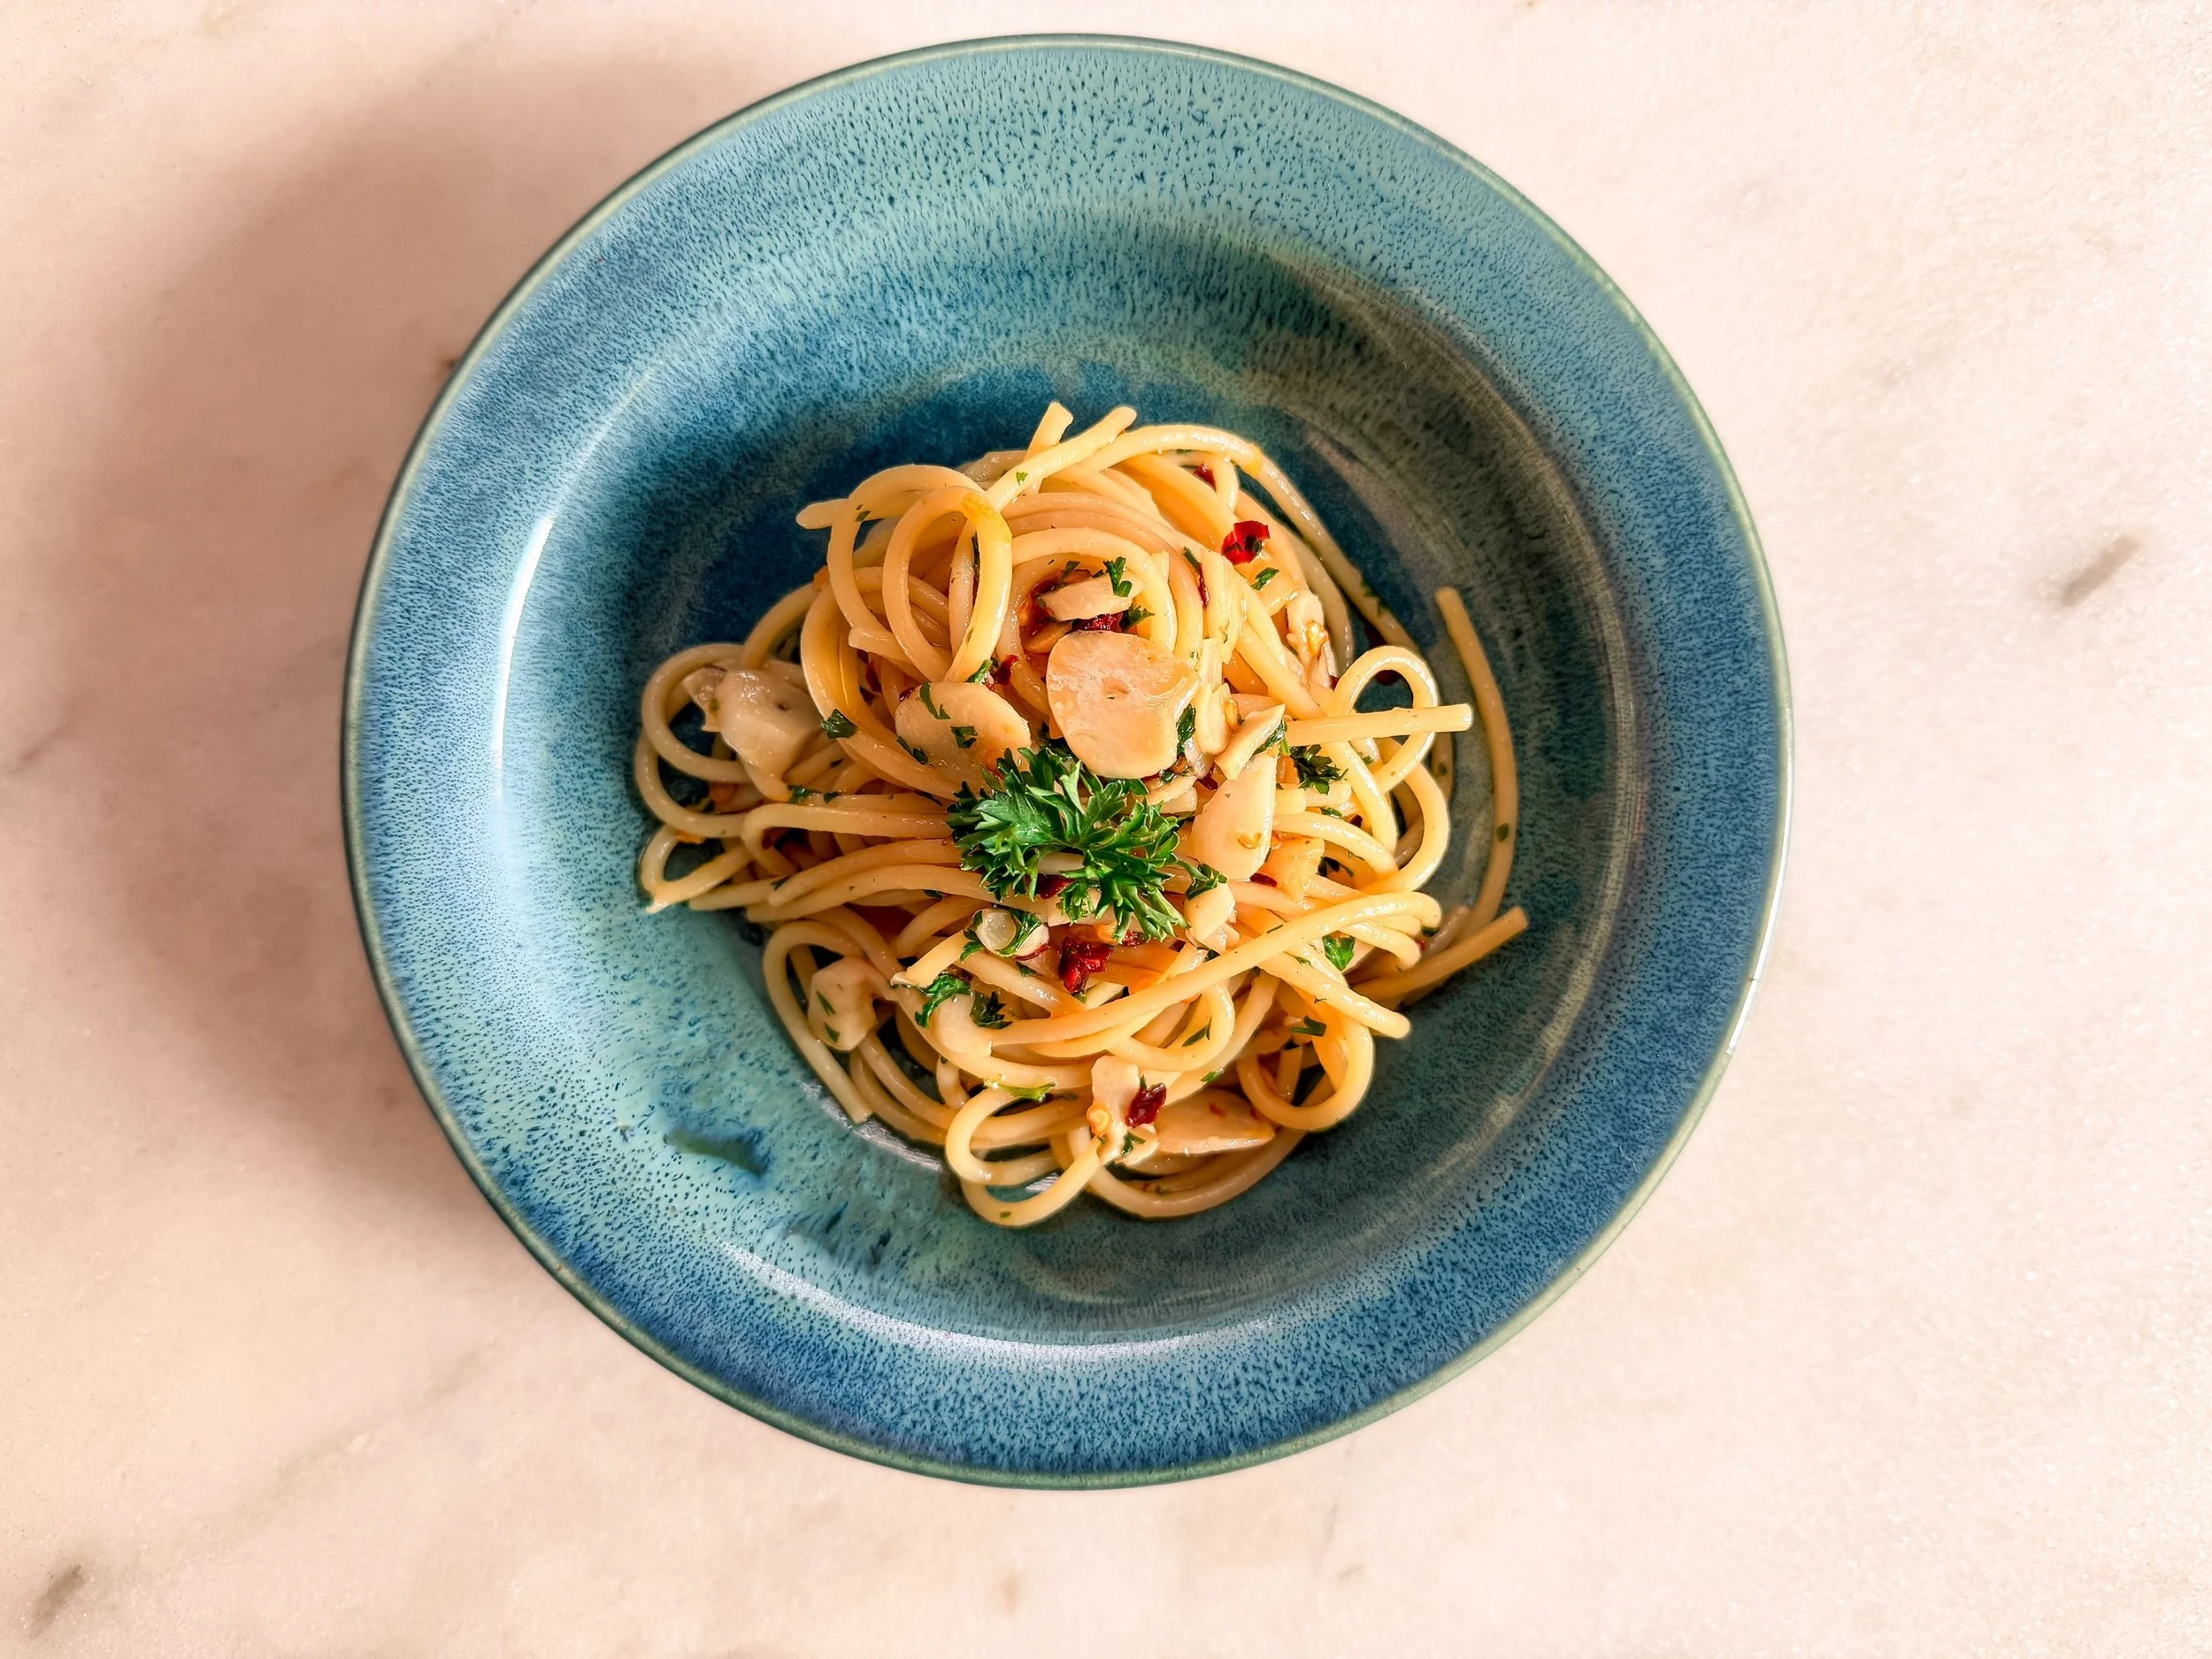
I finished my pasta by making some great aglio e olio. You can try too!